Argus
-
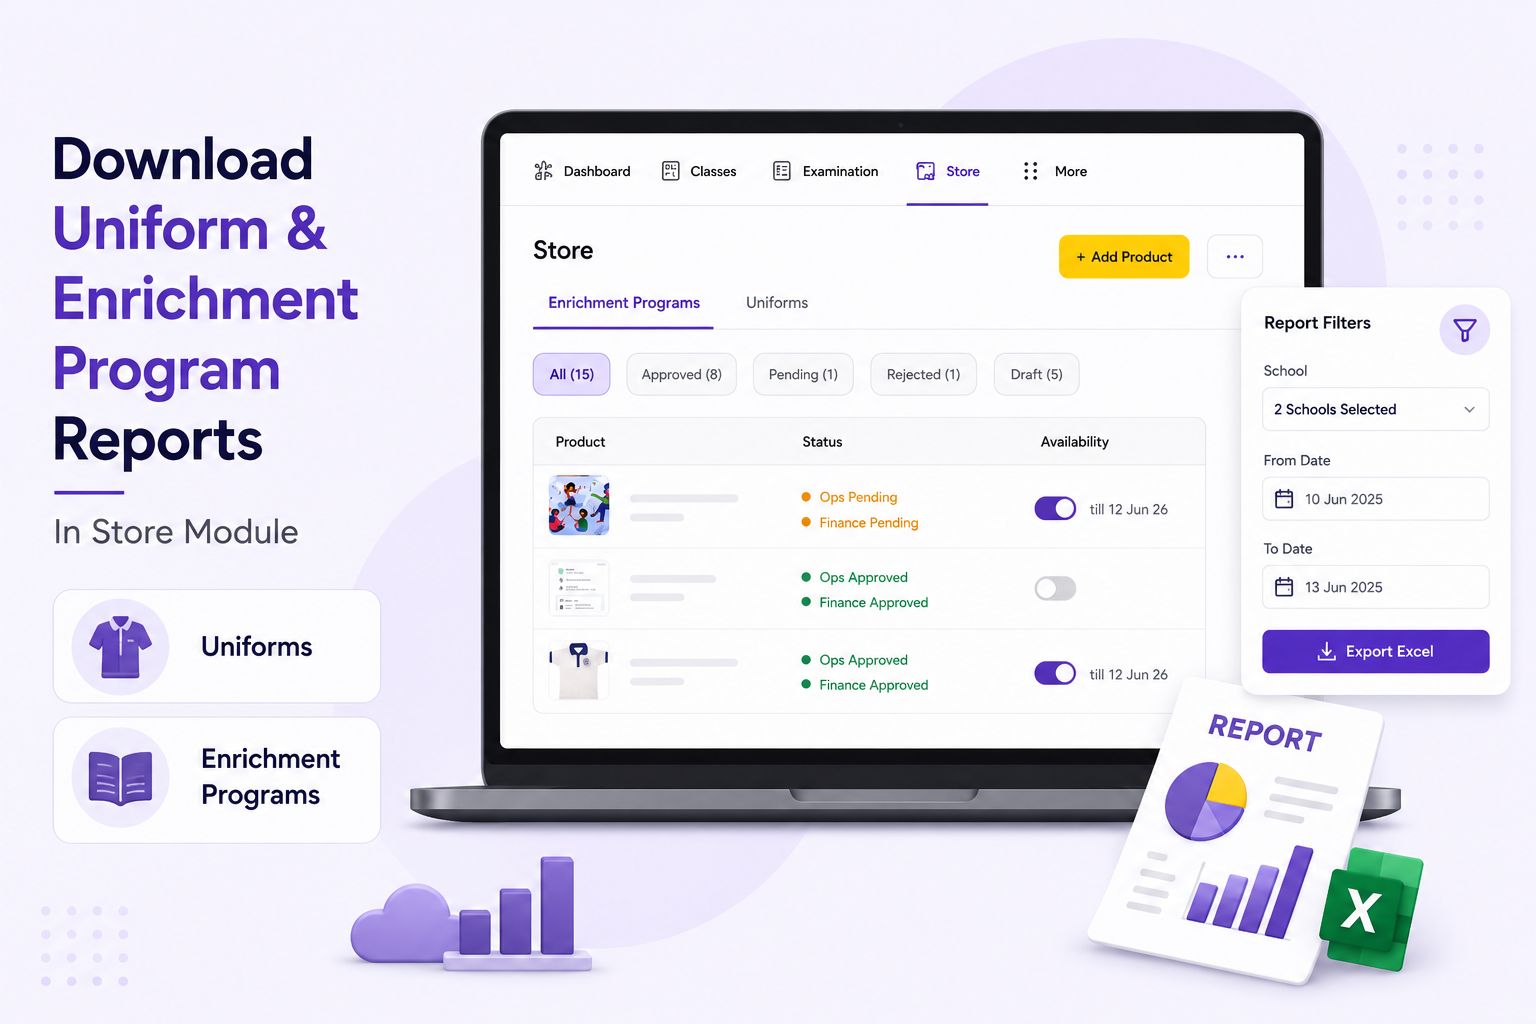
How to Download Uniform and Enrichment Program Reports in the Store Module
-
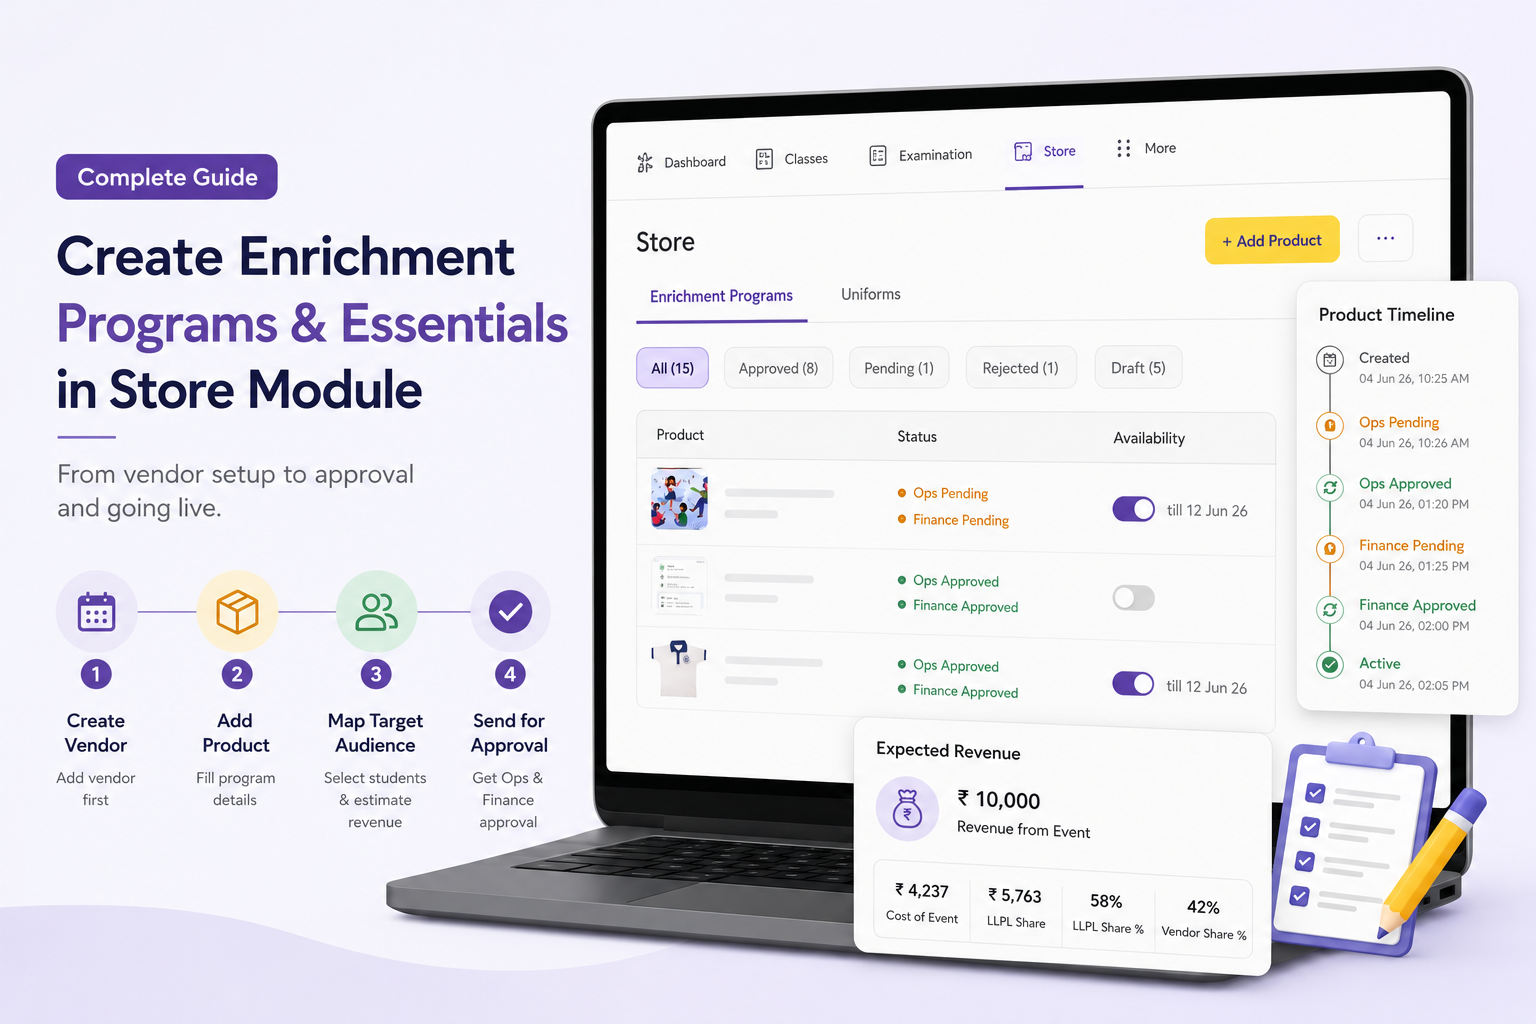
How to Create Enrichment Programs and Essentials in the Store Module
-
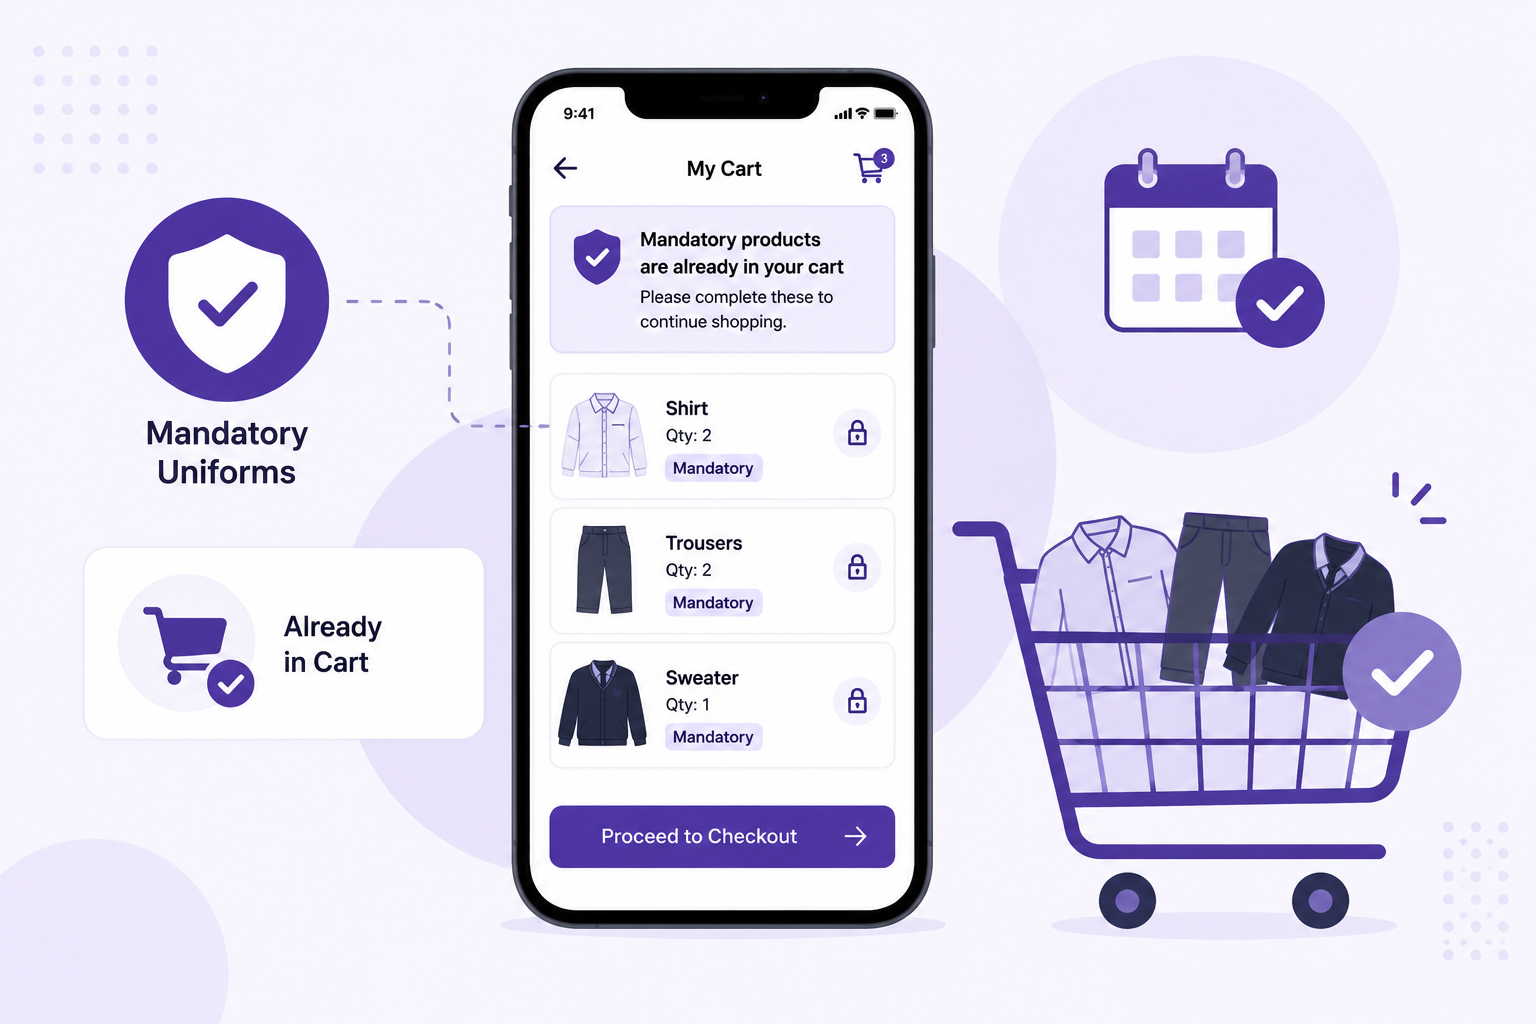
How Mandatory Uniforms Work in the Store Module
-
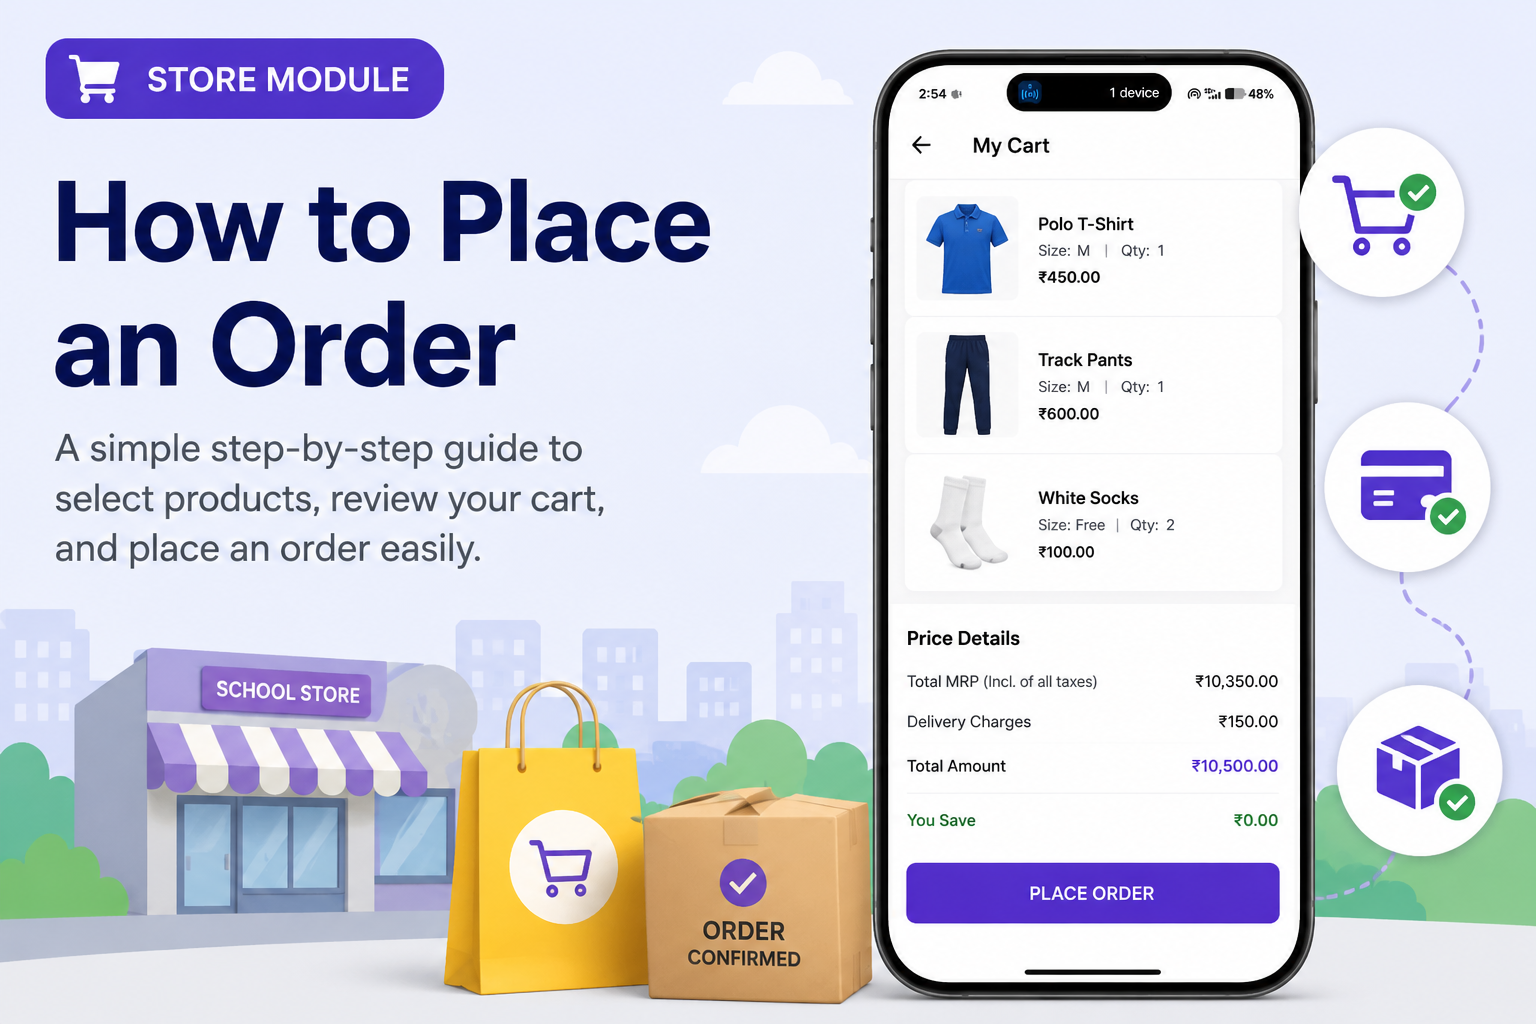
How to Place an Order in the Store Module
-
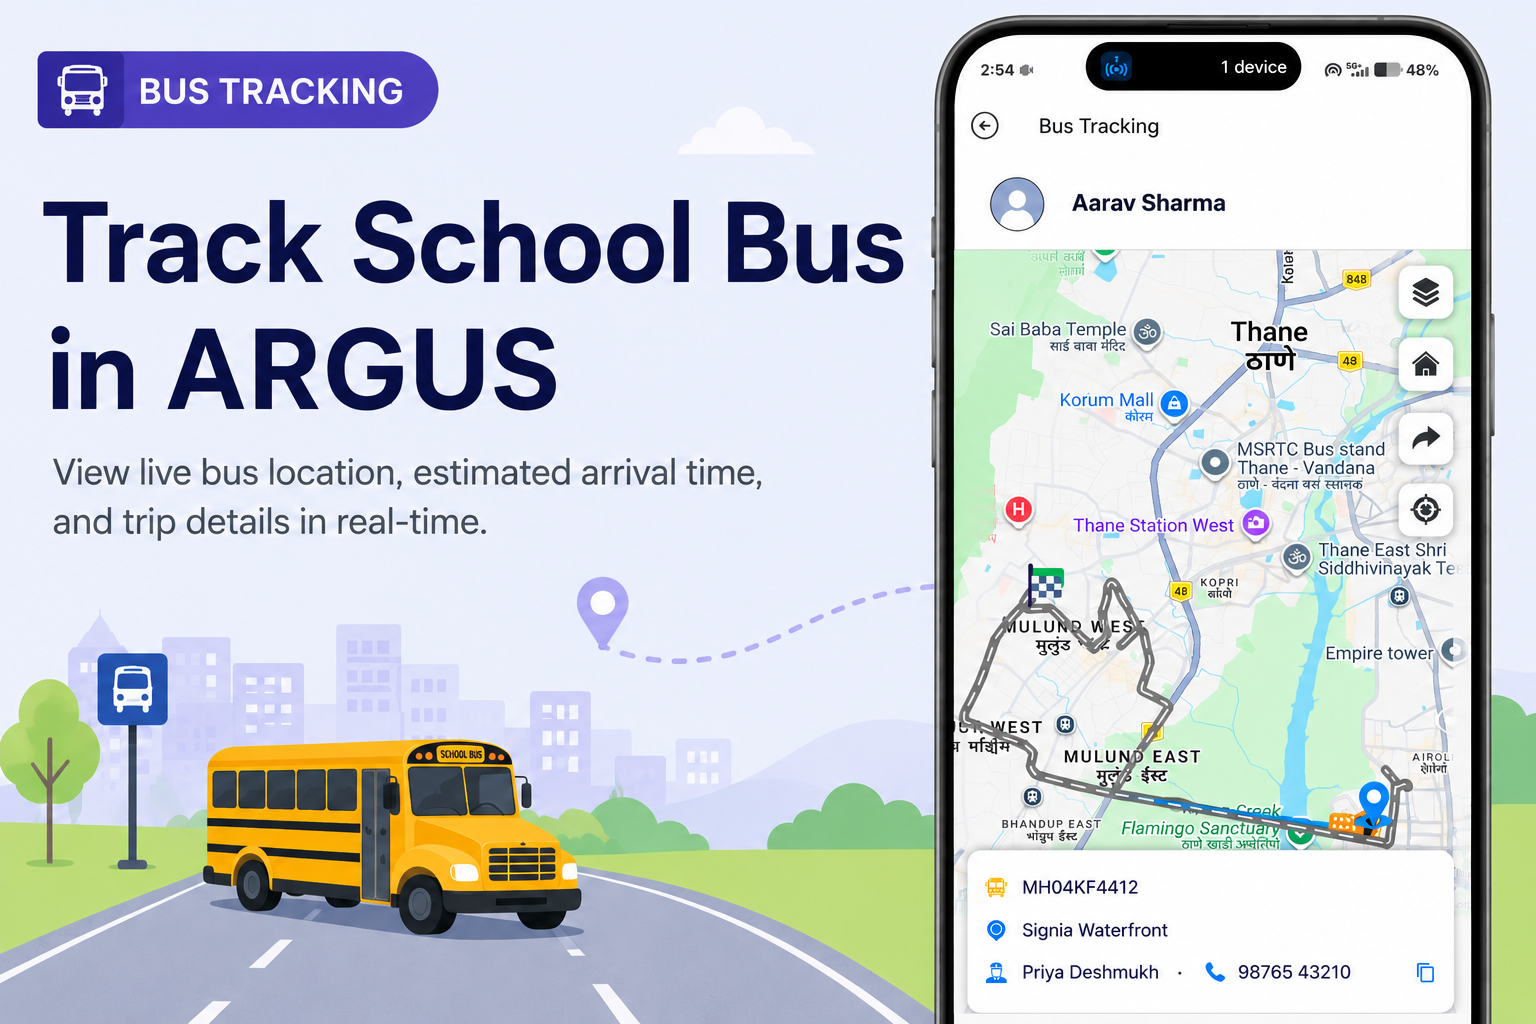
Track School Bus in ARGUS
-
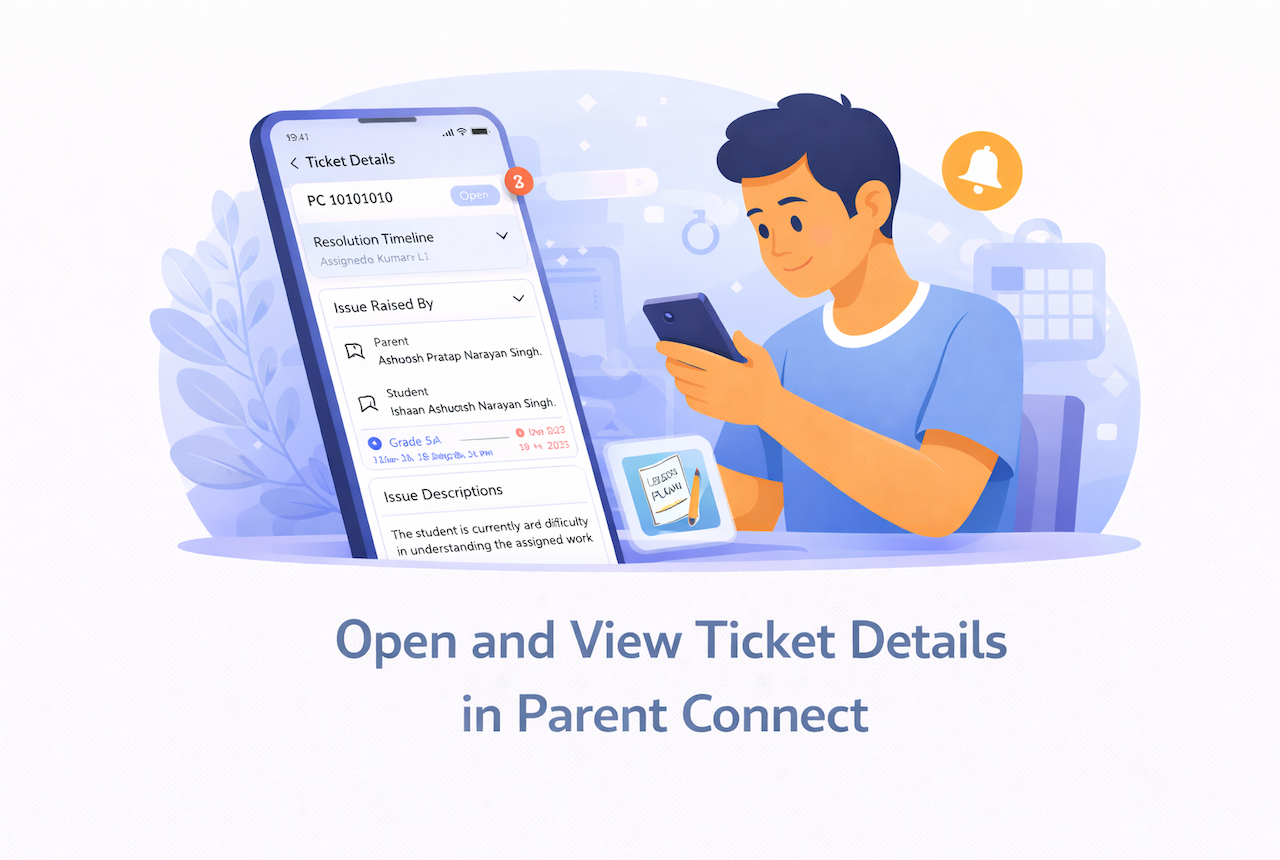
Open and view ticket details in Parent Connect
-
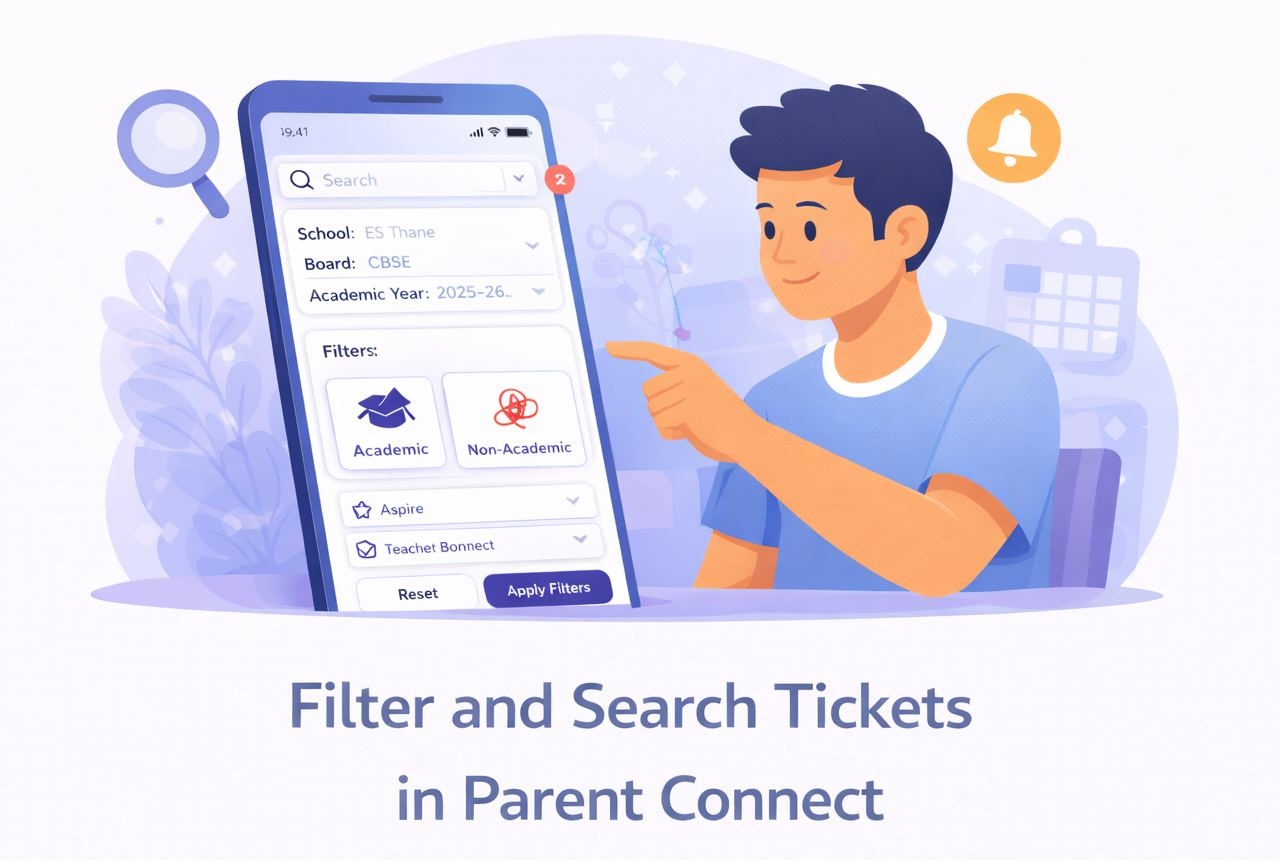
Filter and search tickets in Parent Connect
-
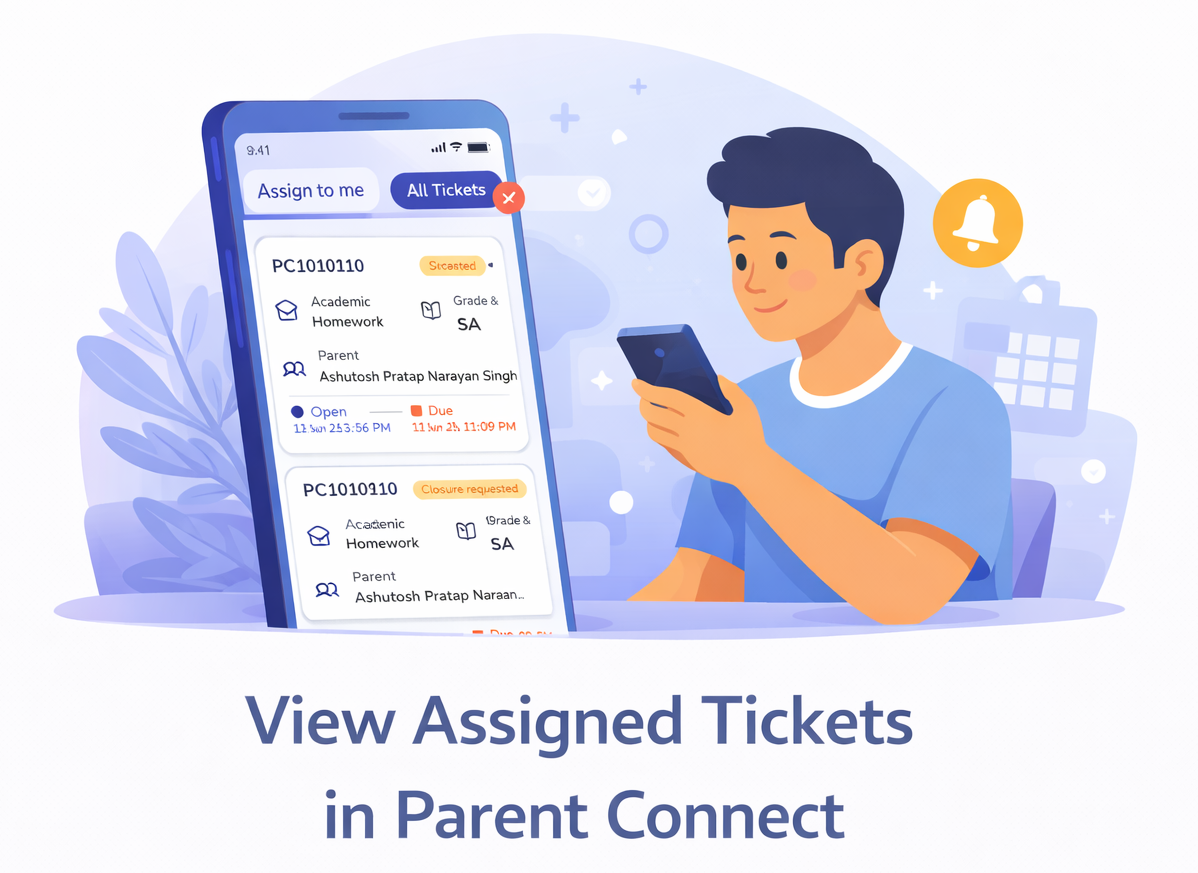
View assigned tickets in Parent Connect
-
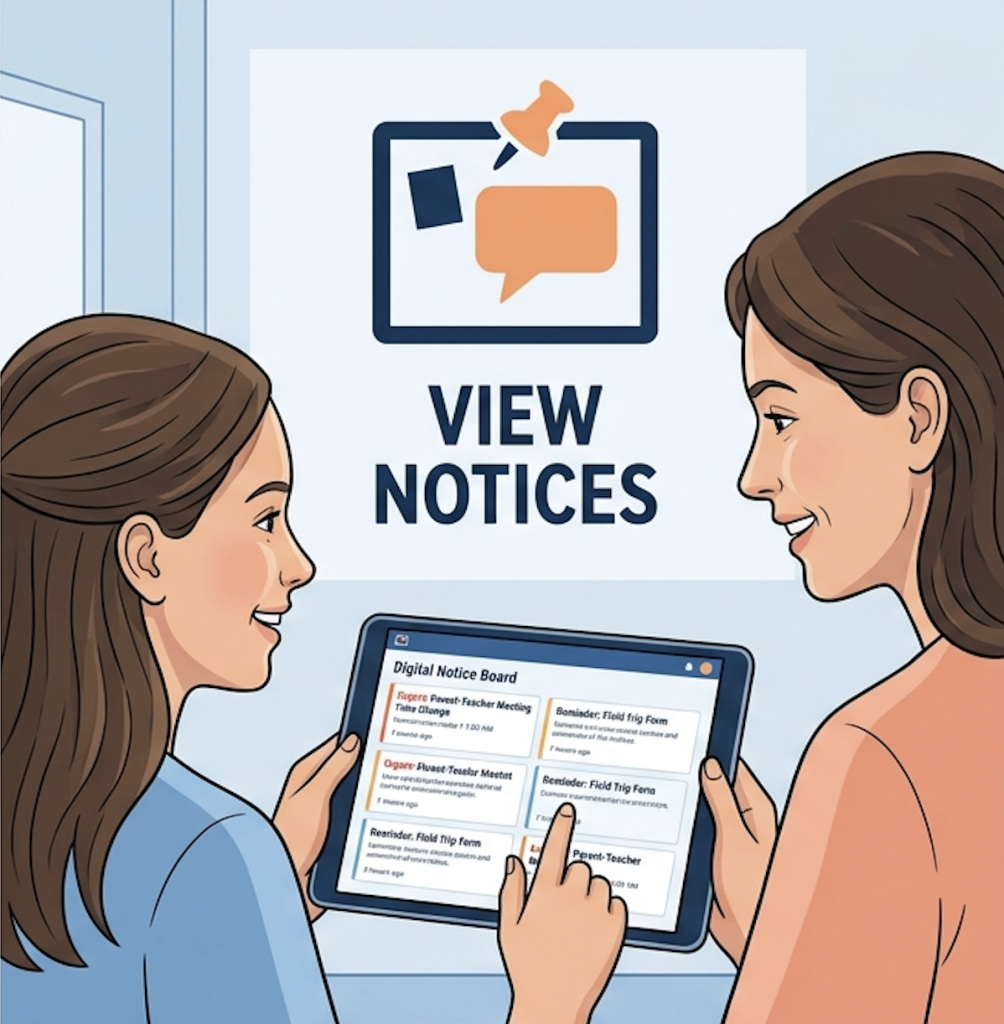
Viewing school announcements as a Student or Parent
-
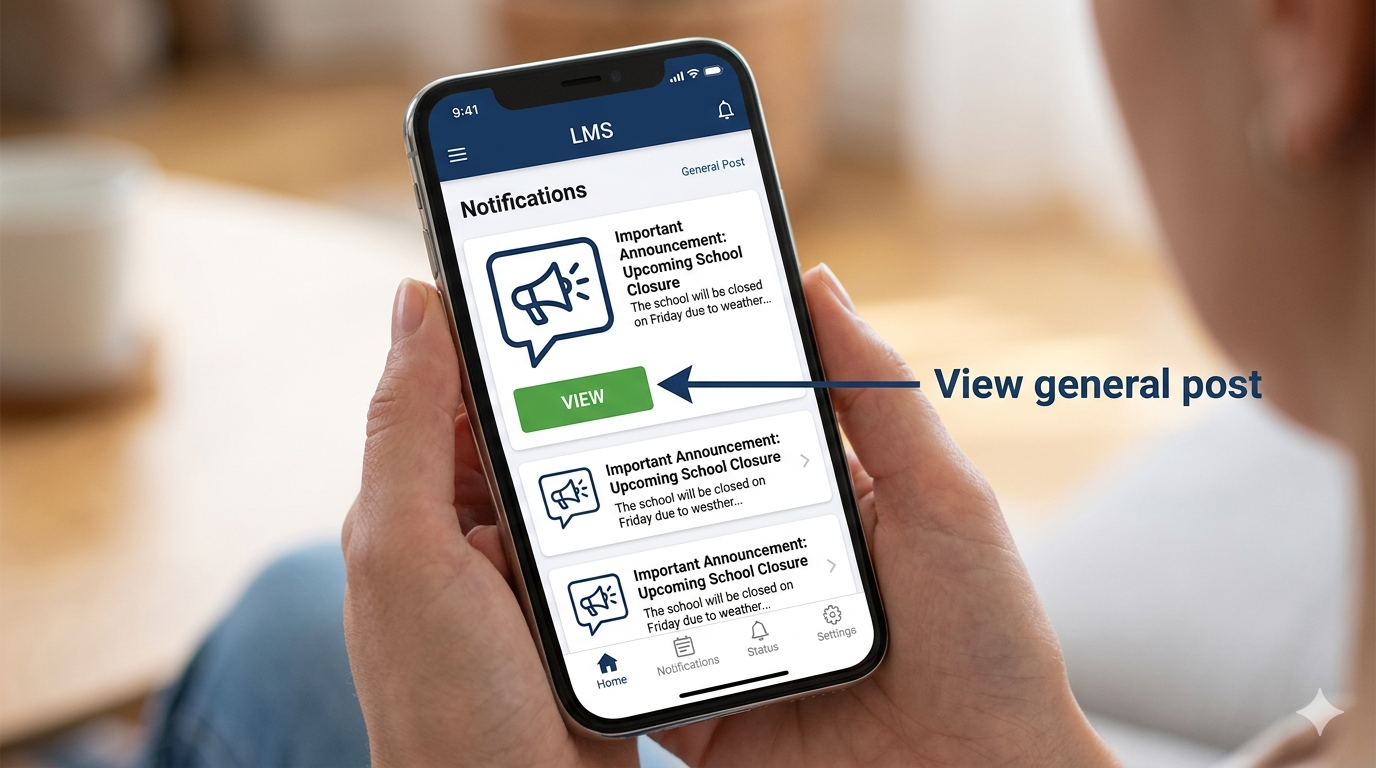
View General Post