Skip to content
Argus Support Hub
Centre Point School International
Admissions
About
Contact
Search
parent-connect
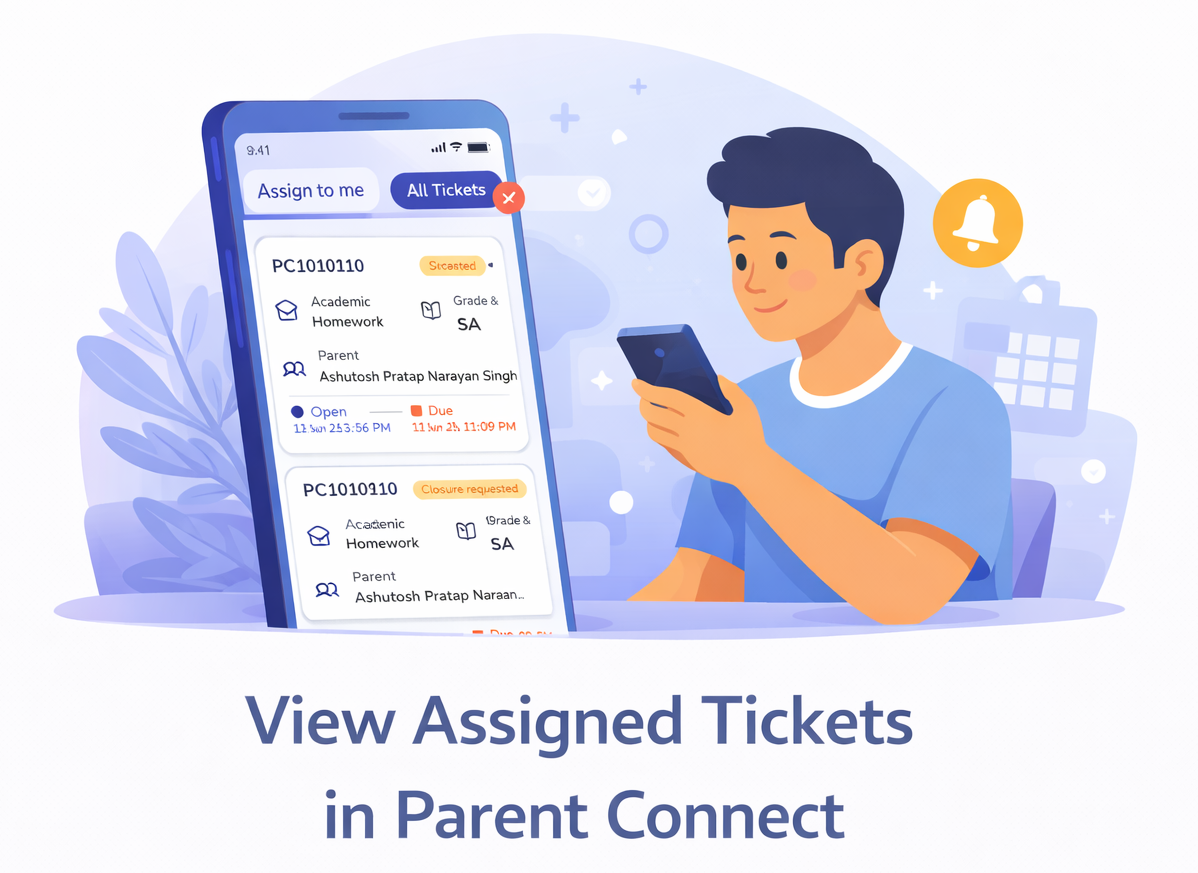
View assigned tickets in Parent Connect
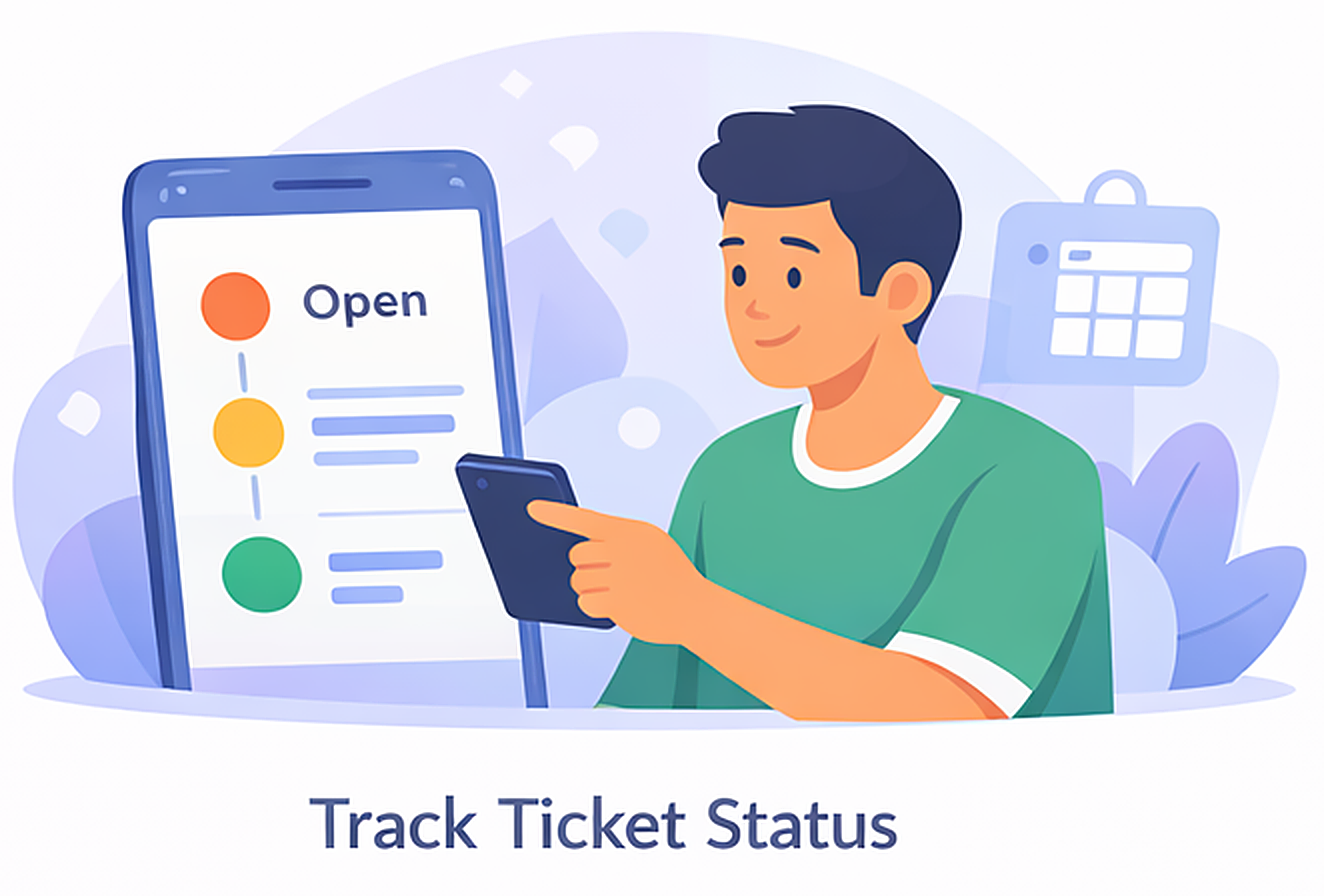
Track the status of your raised tickets in Parent Connect
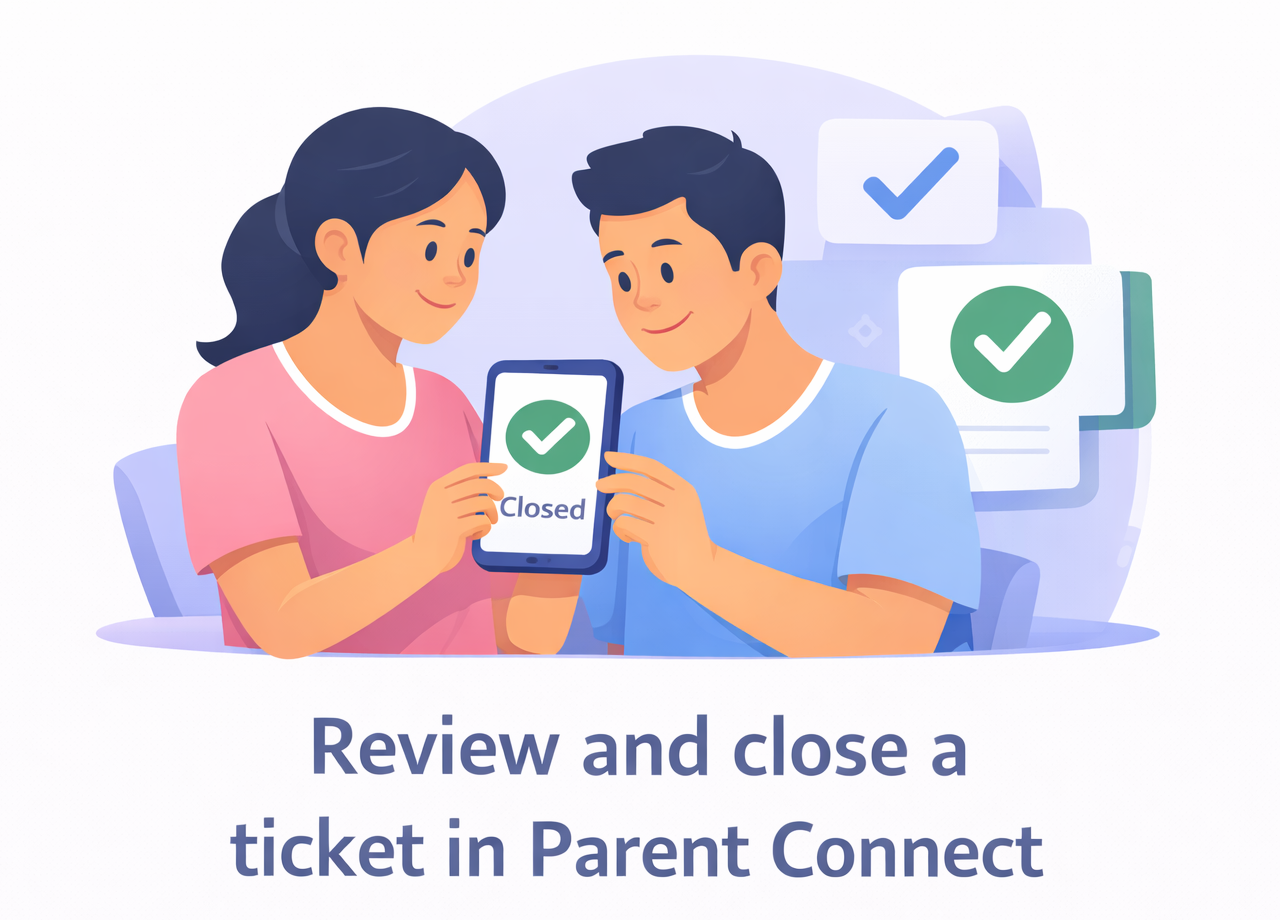
Review and close a ticket in Parent Connect
View and reply to tickets in Parent Connect
Create a new query or ticket in Parent Connect