Skip to content
Argus Support Hub
Centre Point School International
Admissions
About
Contact
Search
almanac
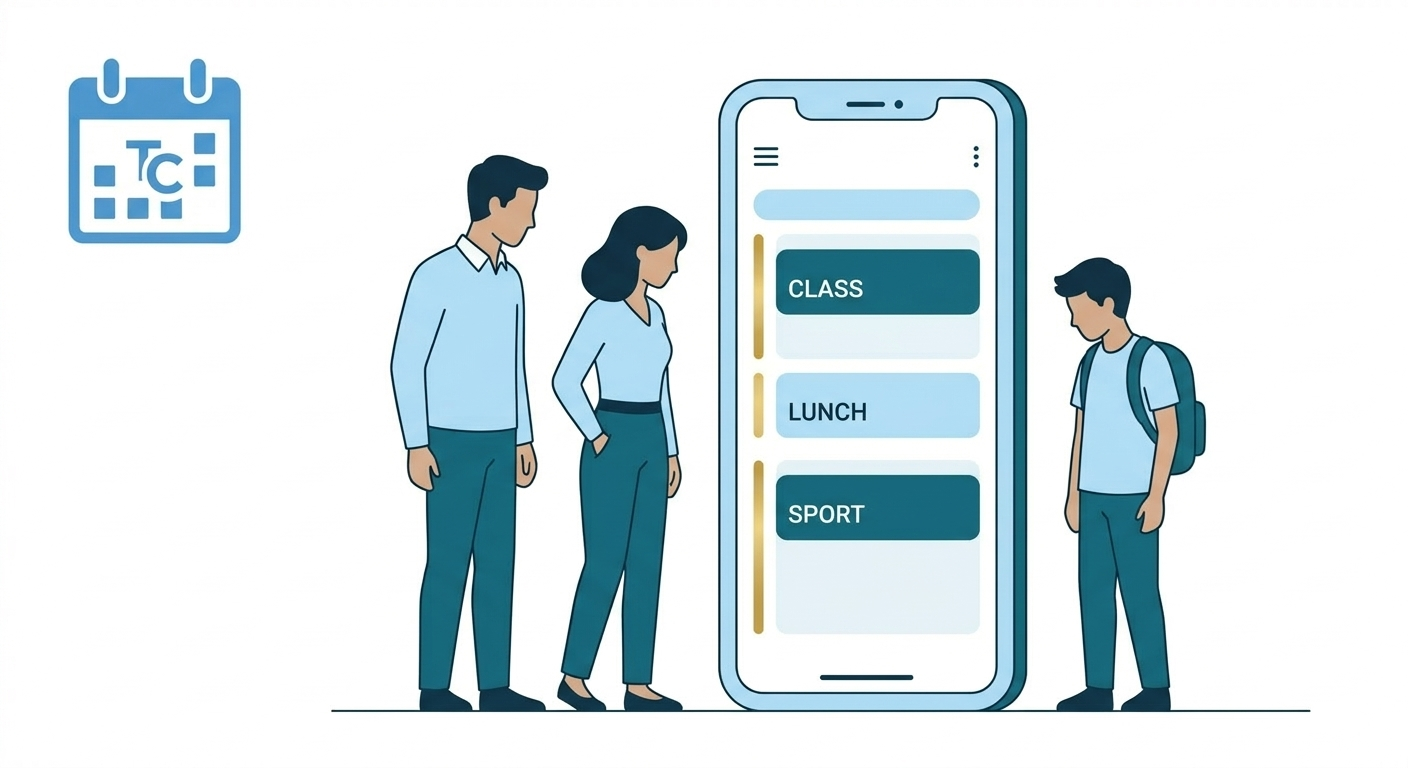
View Almanac (Students and Parents)
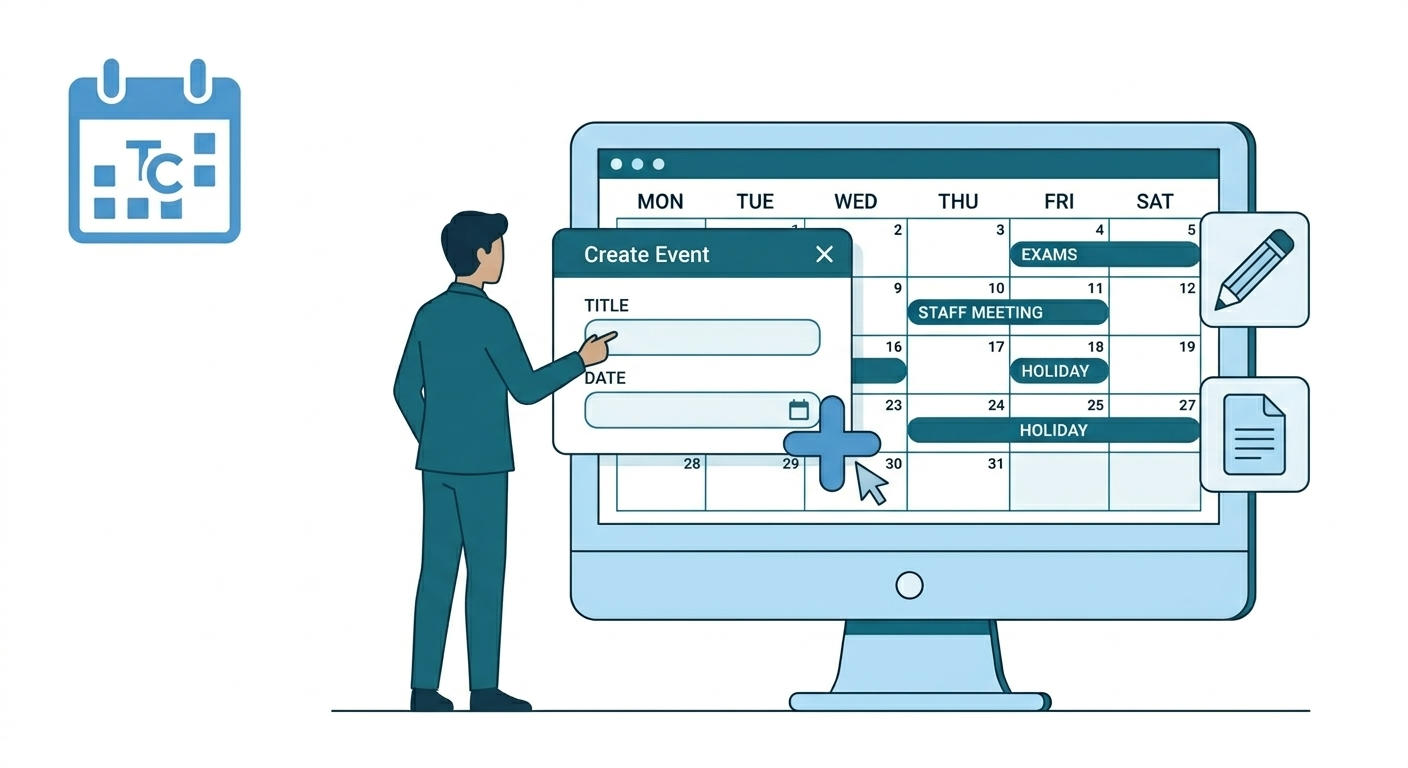
Creating a New Event in Almanac
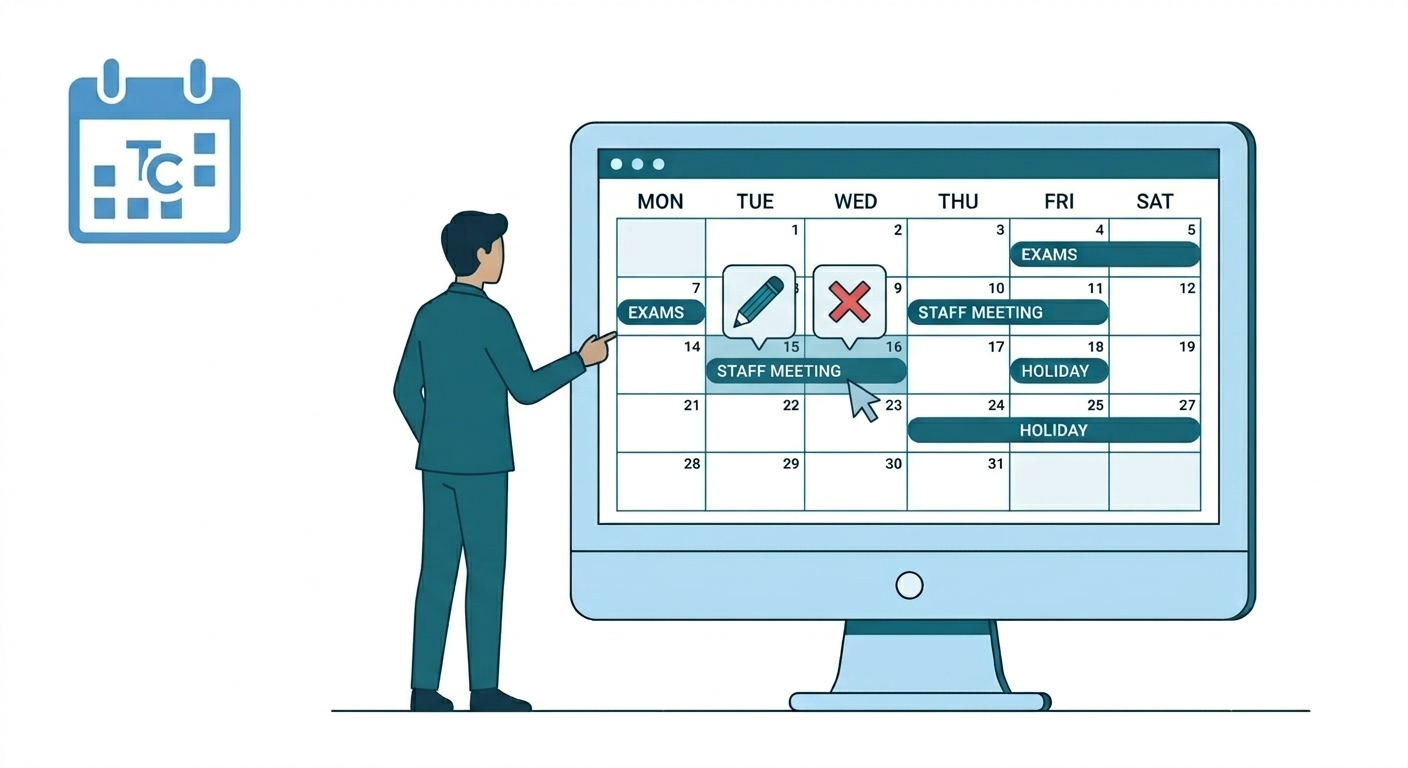
Edit/ Update or Delete Events in Almanac
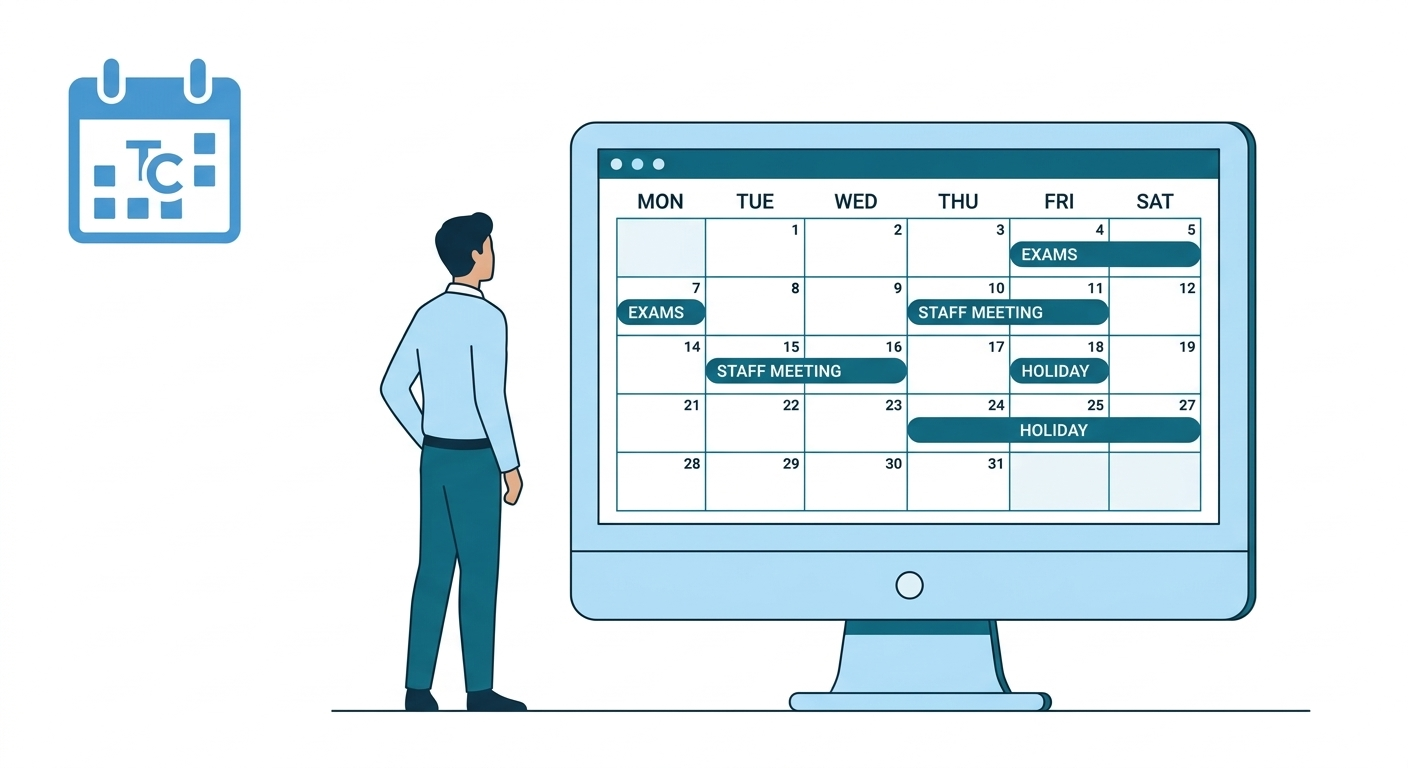
View Almanac (Staff)