To update an existing event in Almanac, authorized administrators must log in via the web portal and navigate to the calendar grid or side navigation. Clicking on the event name opens its detailed view in the side panel, where a pencil icon triggers the edit mode. In this mode, users can modify targeted fields like Audience (School, Board, Grade, or Division) and Event Details (Title, Date Range, Time, or Holiday status). However, to preserve data integrity, specific rules apply: events that have already started or finished can only have their Title and Description changed, while the Event Type remains a permanent classification that cannot be altered for any event once created. After all required adjustments are made, clicking Update Event and confirming on the subsequent pop-up publishes the changes in real-time across all user dashboards and mobile apps.
Role-Based Access Overview
Your ability to modify events depends on your assigned administrative role. Modification tools are available exclusively through the Web portal.
| Role | Web Access | Mobile Access | Manager | View |
| Super Admin | Yes | No | Yes | Yes |
| HO Admin | Yes | No | Yes | Yes |
| School Admin | Yes (View Only and Personalised to LMS mapping) | No | Yes | Yes |
| Teacher | Yes (View Only and Personalised) | No | No | Yes |
| Parent | Yes (View Only) | Yes | No | Yes |
| Student | Yes (View Only) | Yes | No | Yes |
School Admins can edit events within their specific LMS school mapping.
How to Update an Event
To maintain calendar integrity, the system applies specific rules based on when the event occurs.
Future Events: You can edit all fields for events that have not yet started.
Past Events: For events that have already started or finished, you can only edit the Title and Description.
Permanent Fields: The Event Type (e.g., Holiday vs. Exam) cannot be changed once an event is created. If the type is incorrect, you must delete the event and create a new one.
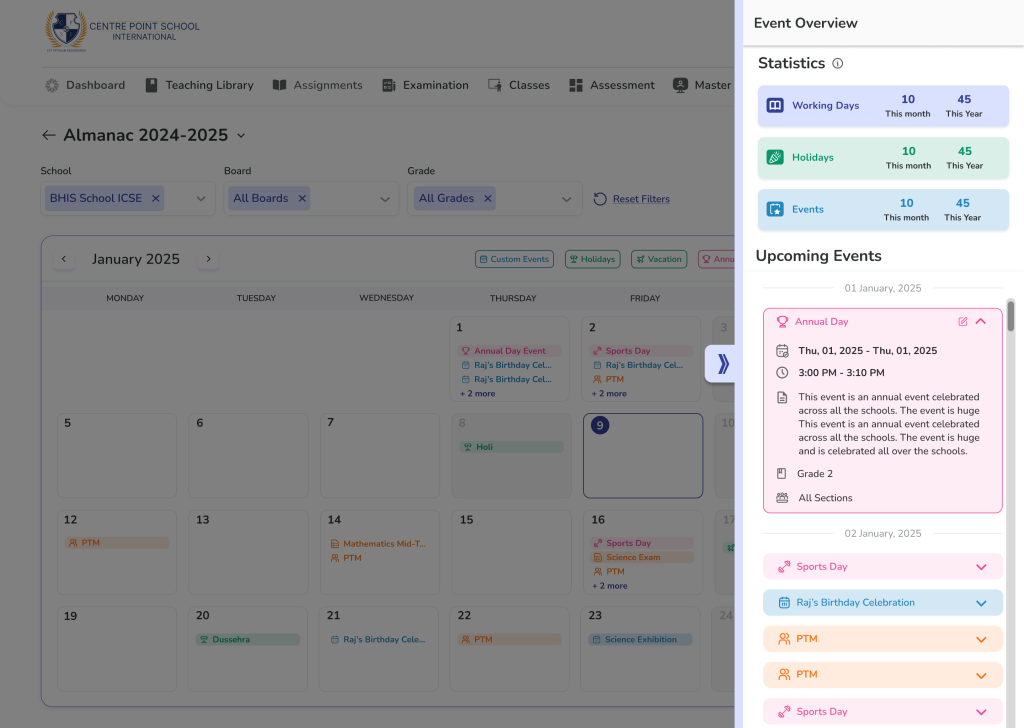
- Locate the Event – Navigate to the Almanac module on the web. Find your event either directly on the Calendar grid or by using the Side Navigation list. Click on the event name to open its details.
- Enter the edit mode – Once the event details expand in the side panel, click the Update/Edit (pencil) icon.
- Event details open up on the Side Navigation
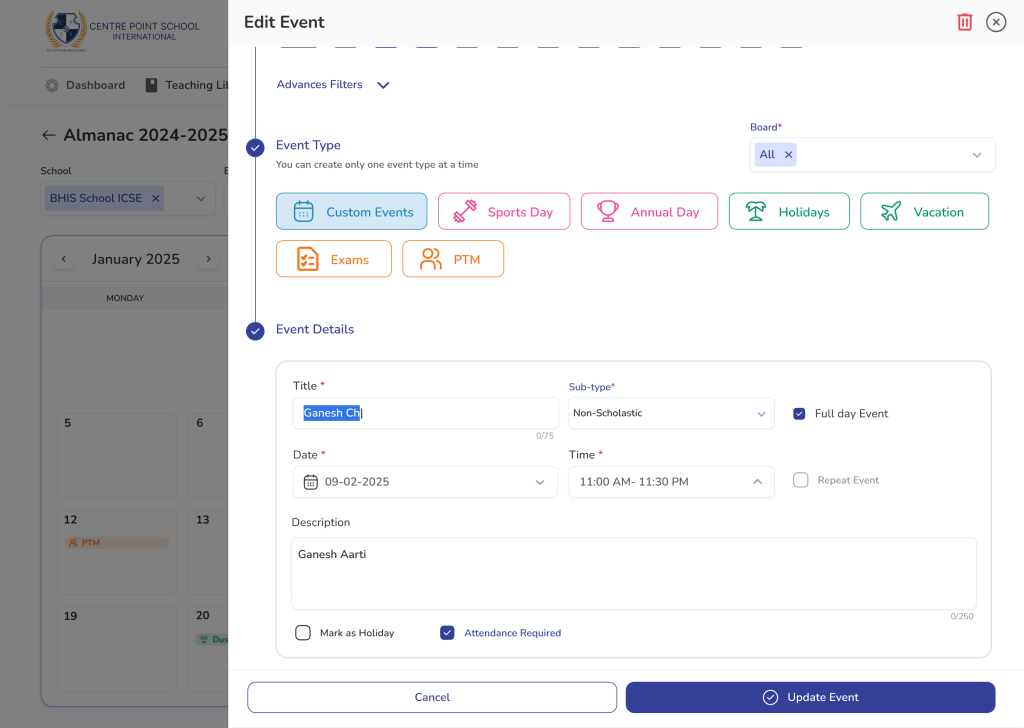
- Modify Required Fields:
- Audience
- School
- Board
- Grade
- Advanced filters (Optional)
- Division
- Students
- Event Details:
- Event Title
- Subtype
- Full day event (Y/N)
- Date range
- Time Range (if not full-day)
- Mark as Holiday (Y/N)
- Mark attendance (Y/N)
- Audience

- Save Changes
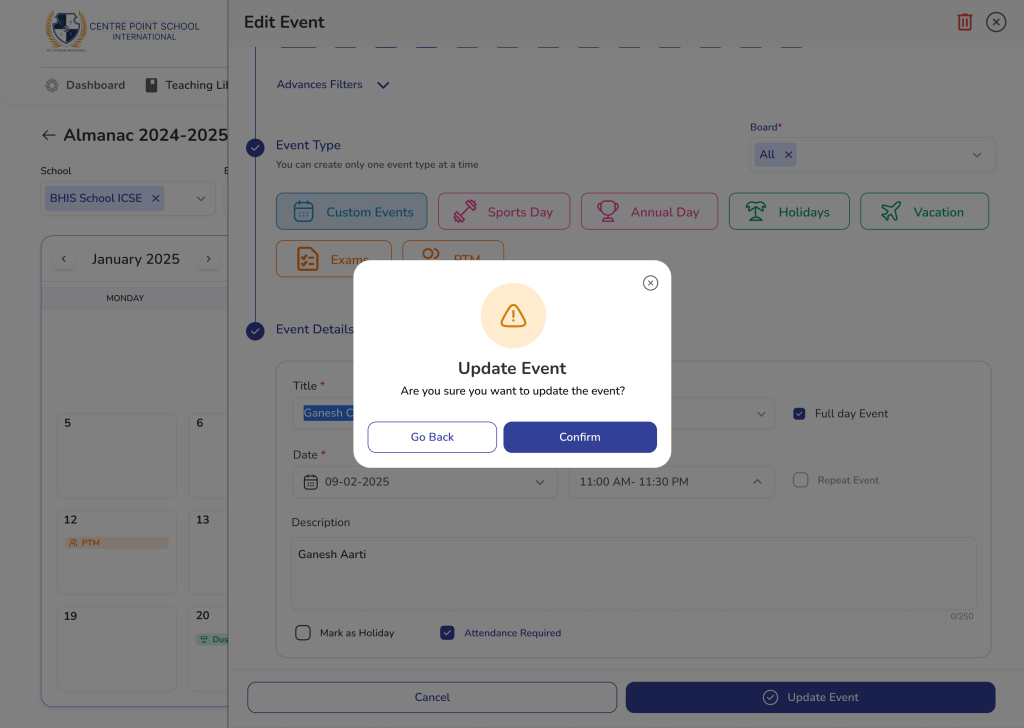
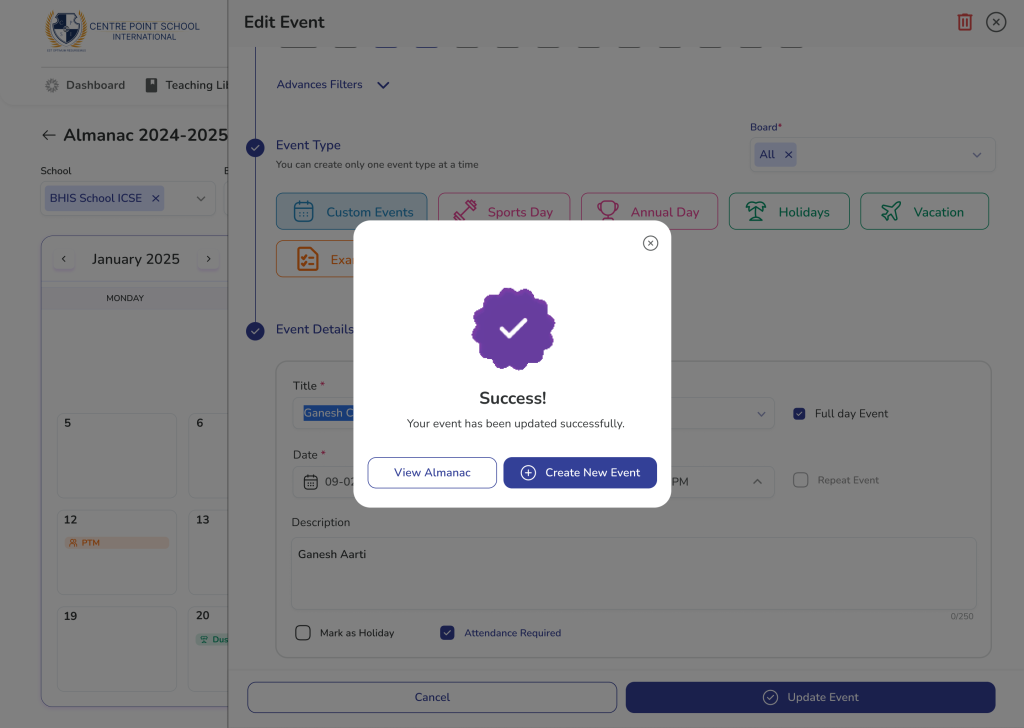
- Click Update event (after all mandatory details are filled)
- Click Confirm on Confirmation Pop up
How to Delete an Event
- Locate the Event: Find the event on the main calendar or via the Side Navigation and click on it.
- Open Details: The event details will expand in the Side Navigation panel.
- Enter Edit Mode: Click the Update/Edit icon (usually represented by a pencil).
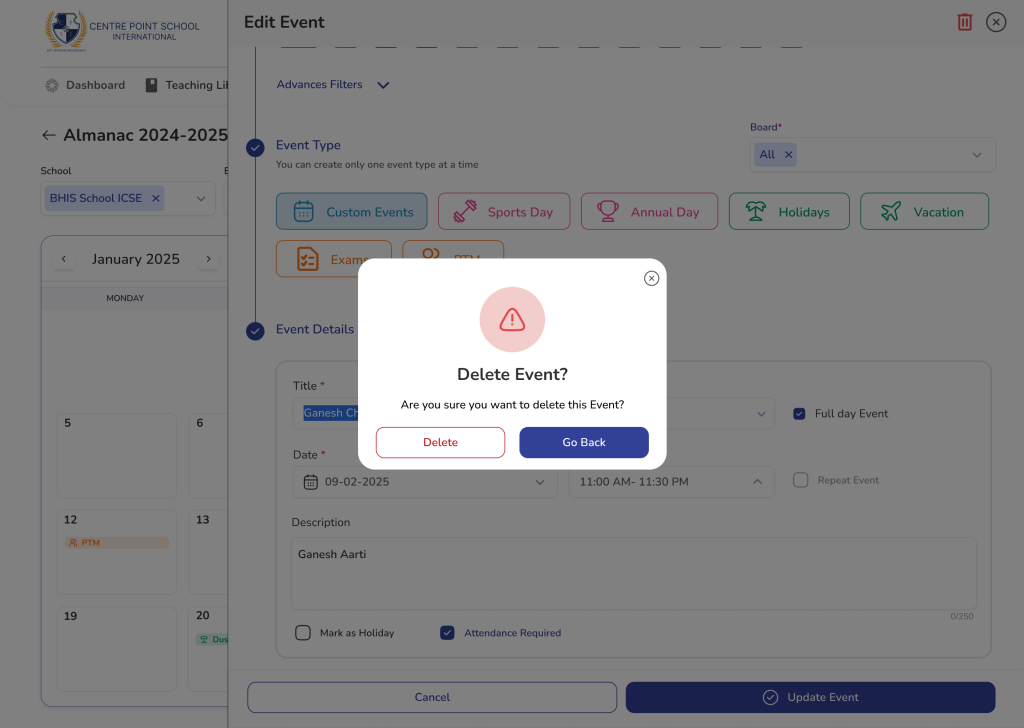
- Remove Event: Click the Delete icon (trash can).
- Confirm: A pop-up will appear asking for confirmation. Click Delete to permanently remove the event.
Only events with Start time in the future can be deleted
Frequently Asked Questions (FAQs)
The delete option only appears for events scheduled in the future. Additionally, ensure your user role (such as Super Admin or HO Admin) has the necessary permissions to manage events.
Currently, creating, editing, or deleting events is only supported on the Web version of the LMS for authorized administrators. Mobile access is primarily for viewing the calendar.
This means you only see the events relevant to your specific school, grade level, or classes. For example, a Teacher will see their specific academic milestones rather than the entire district’s administrative schedule.
No. Once you click “Delete” on the confirmation pop-up, the event is permanently removed from the Almanac module. Please double-check before confirming.
Yes. Because Almanac is the centralized module, any changes made by an Admin are updated in real-time across all user dashboards and mobile apps.
To preserve the accuracy of school records, the system locks the date and time settings once an event has passed. You can still update the title or description for clarity, but the timing remains fixed.
No. The Event Type is a permanent classification. If an event was categorized incorrectly at the time of creation, you will need to delete it and create a new entry with the correct type.
Changes made in Almanac update the calendar in real-time across all user dashboards and mobile apps. Depending on your school’s notification settings, users may see the update reflected instantly.
In the Audience section of the edit screen, open Advanced Filters. Here, you can select a specific Division to ensure the update only applies to that group.
If the pencil icon is missing, it is likely because your user role does not have “Edit” permissions for that specific event or school mapping. Contact your Super Admin to verify your access levels.