staffs
-
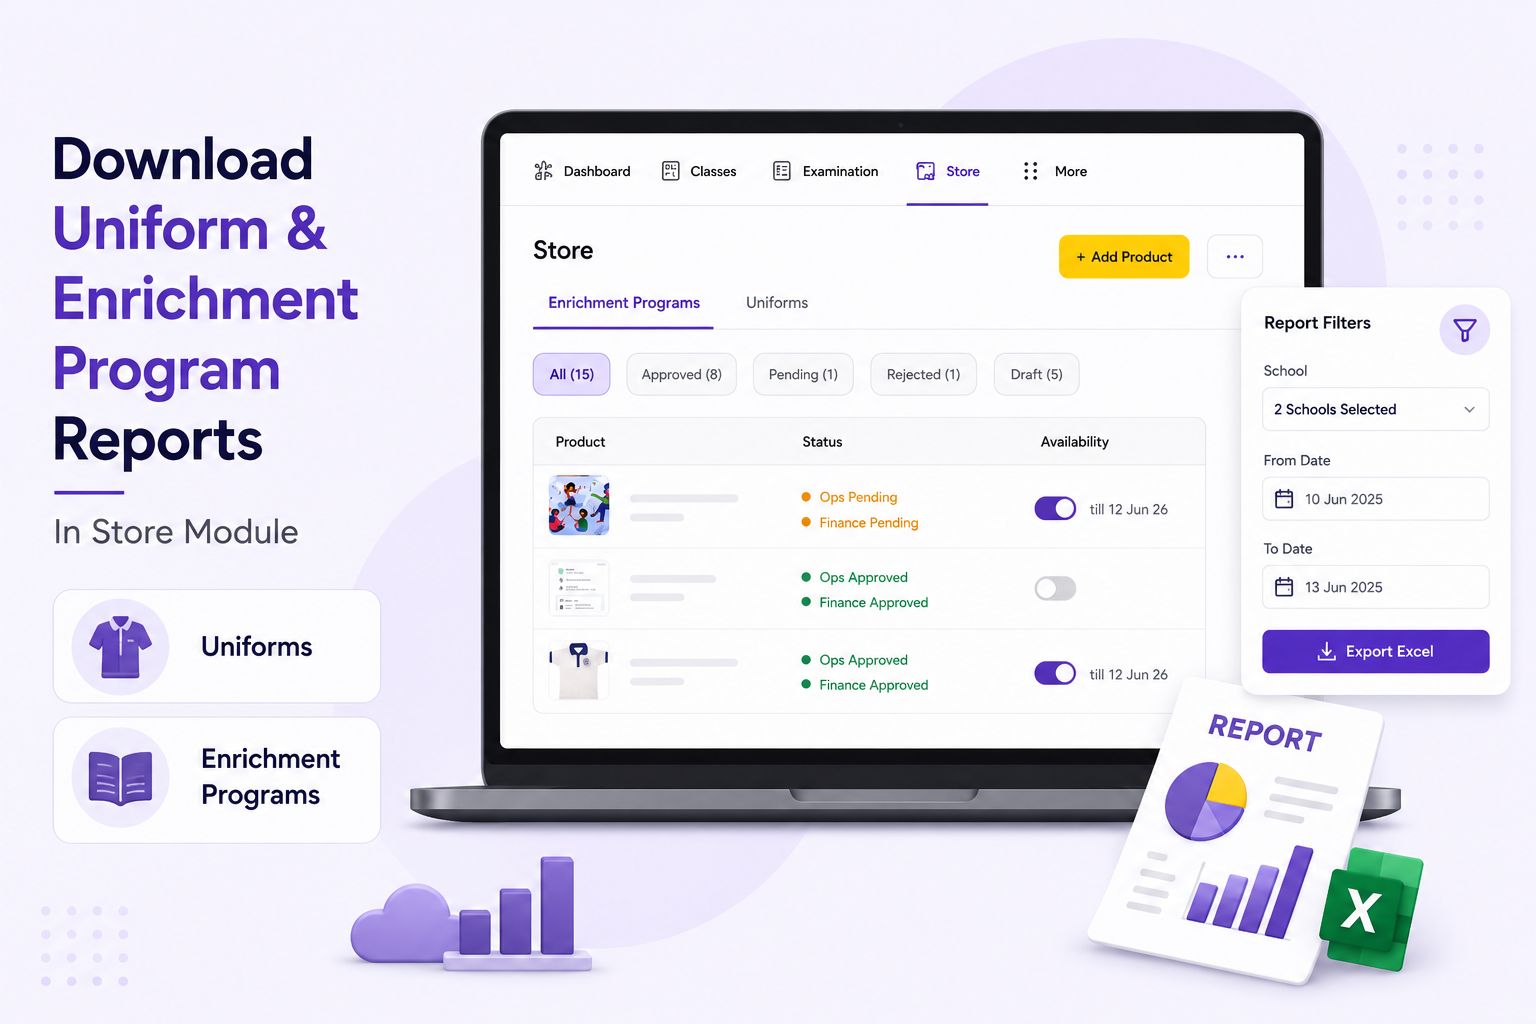
How to Download Uniform and Enrichment Program Reports in the Store Module
-
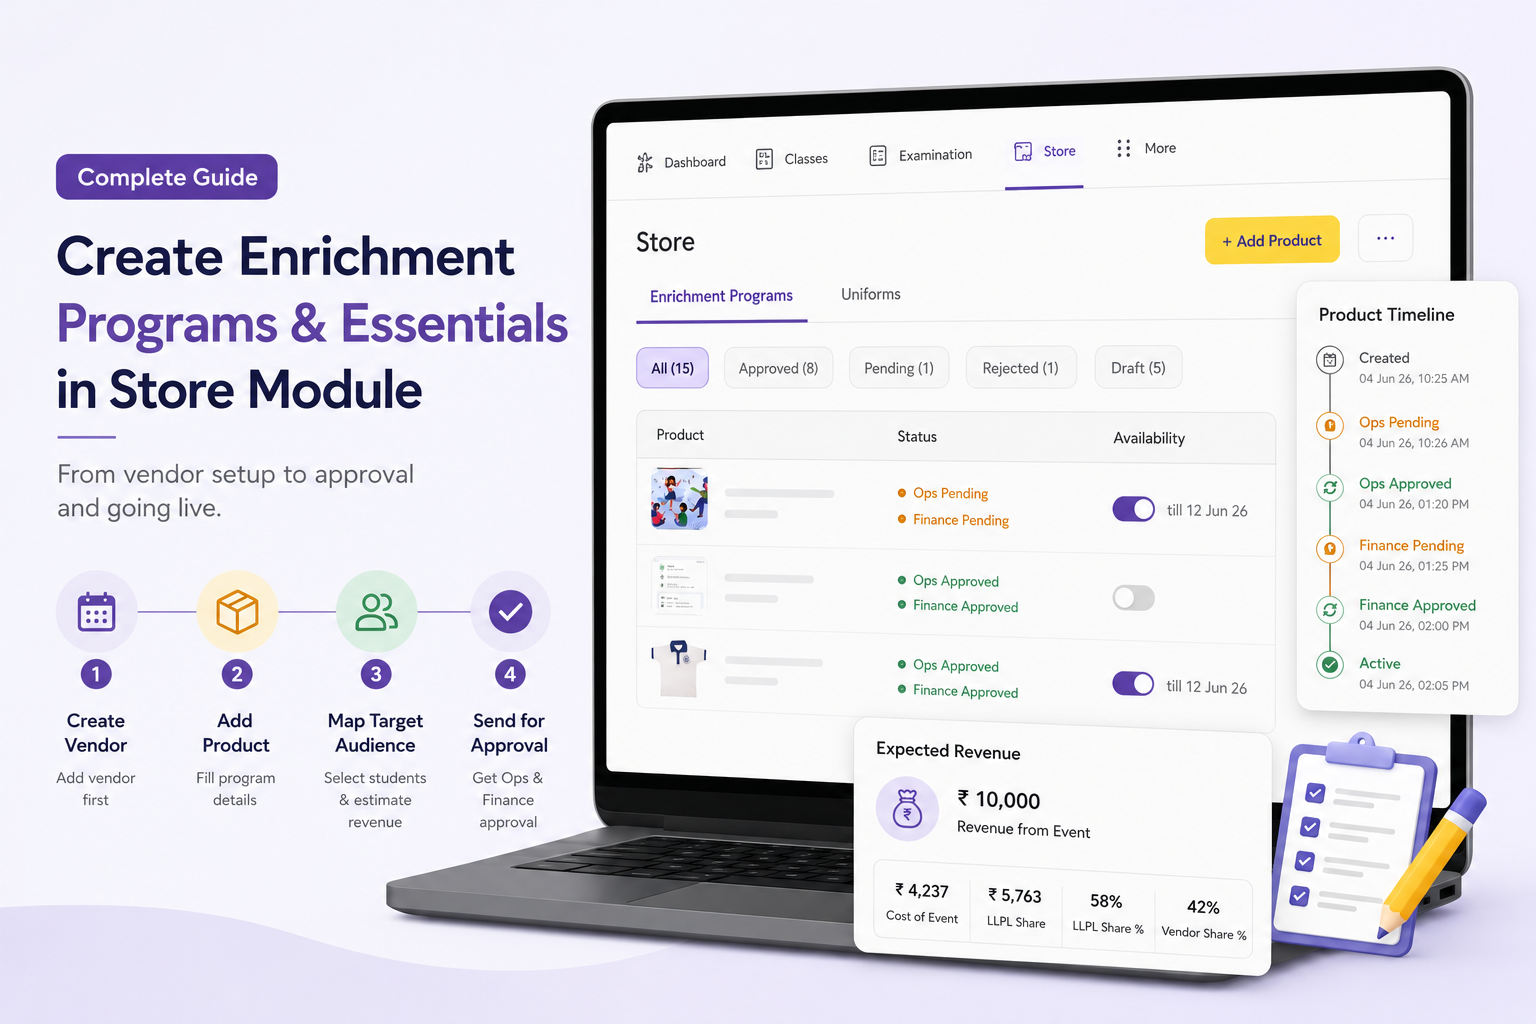
How to Create Enrichment Programs and Essentials in the Store Module
-
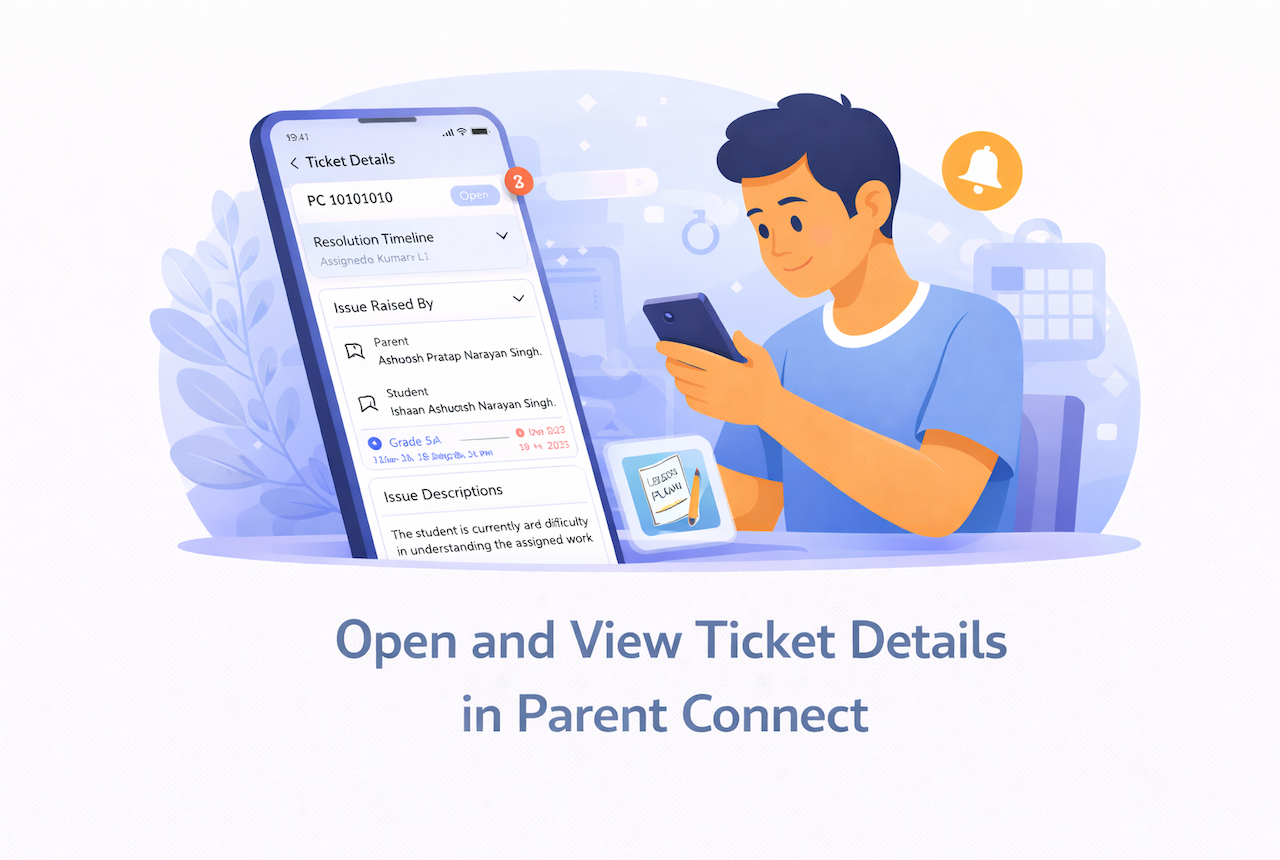
Open and view ticket details in Parent Connect
-
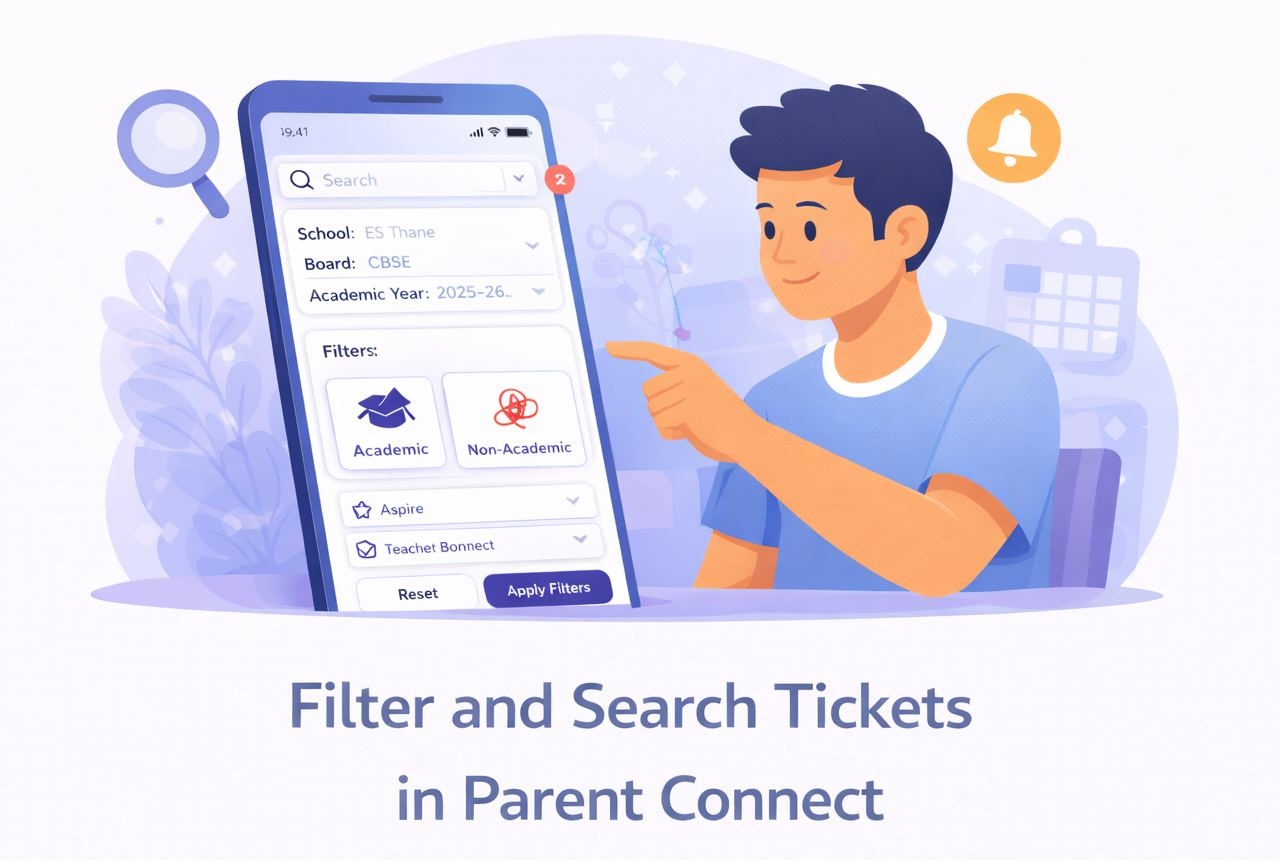
Filter and search tickets in Parent Connect
-
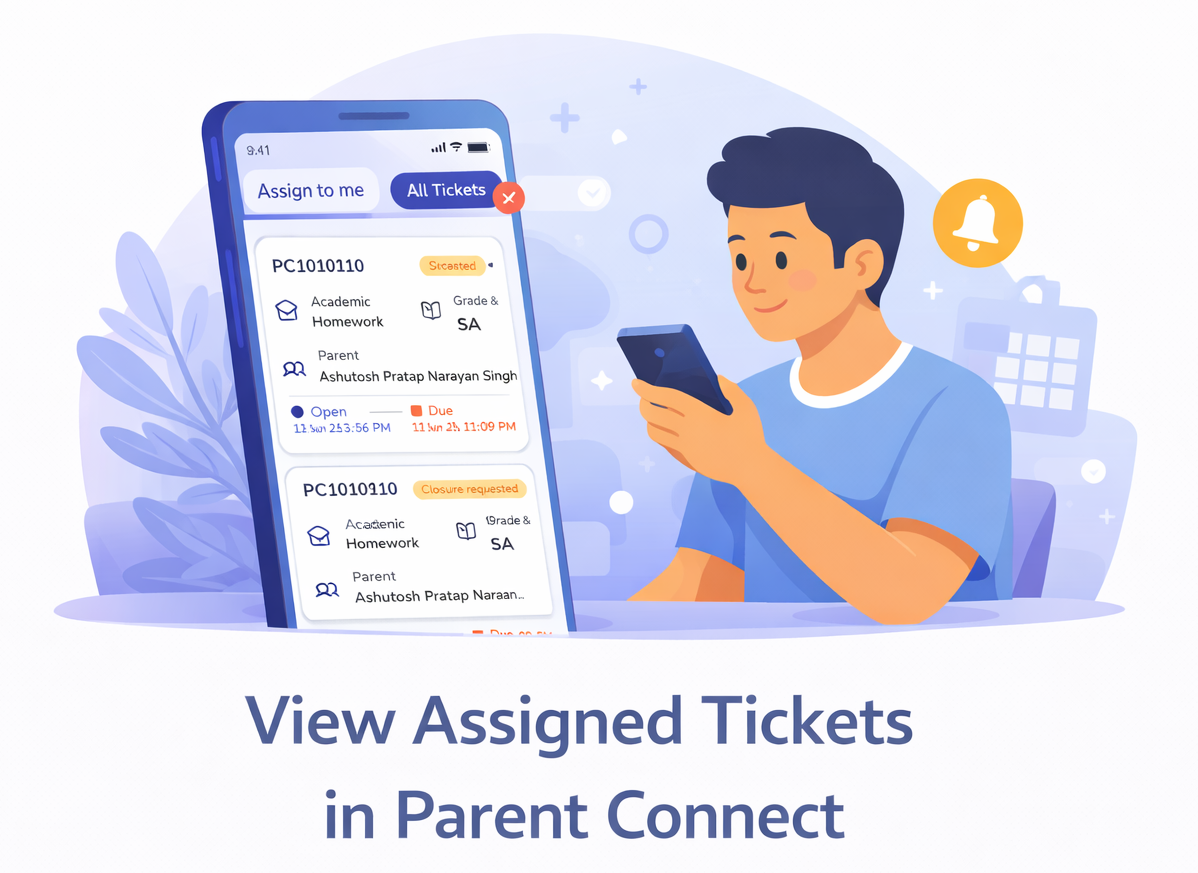
View assigned tickets in Parent Connect
-

Create & Manage Notice Board
-
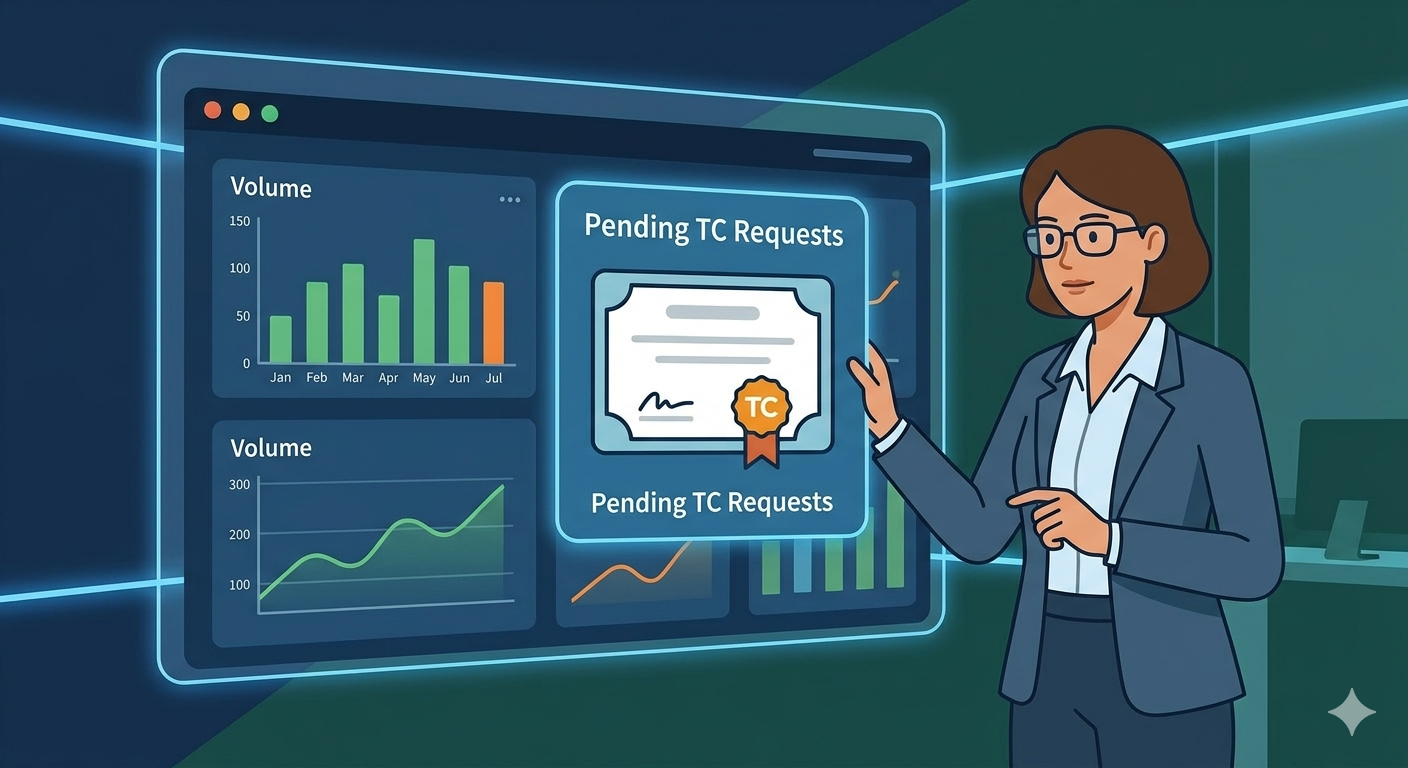
Viewing and Managing Transfer Certificate Requests in Dashboard
-
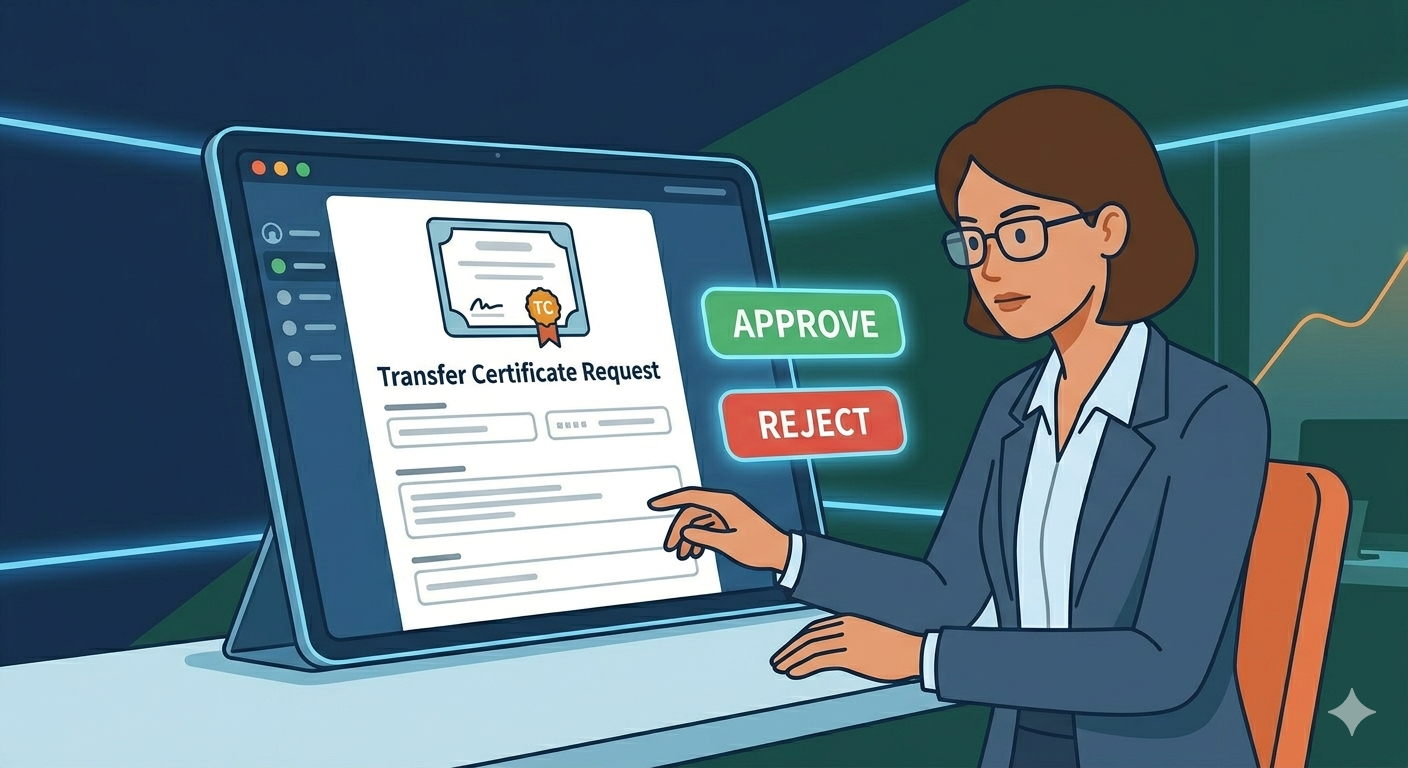
Reviewing and Acting on a Transfer Certificate (TC) Request
-
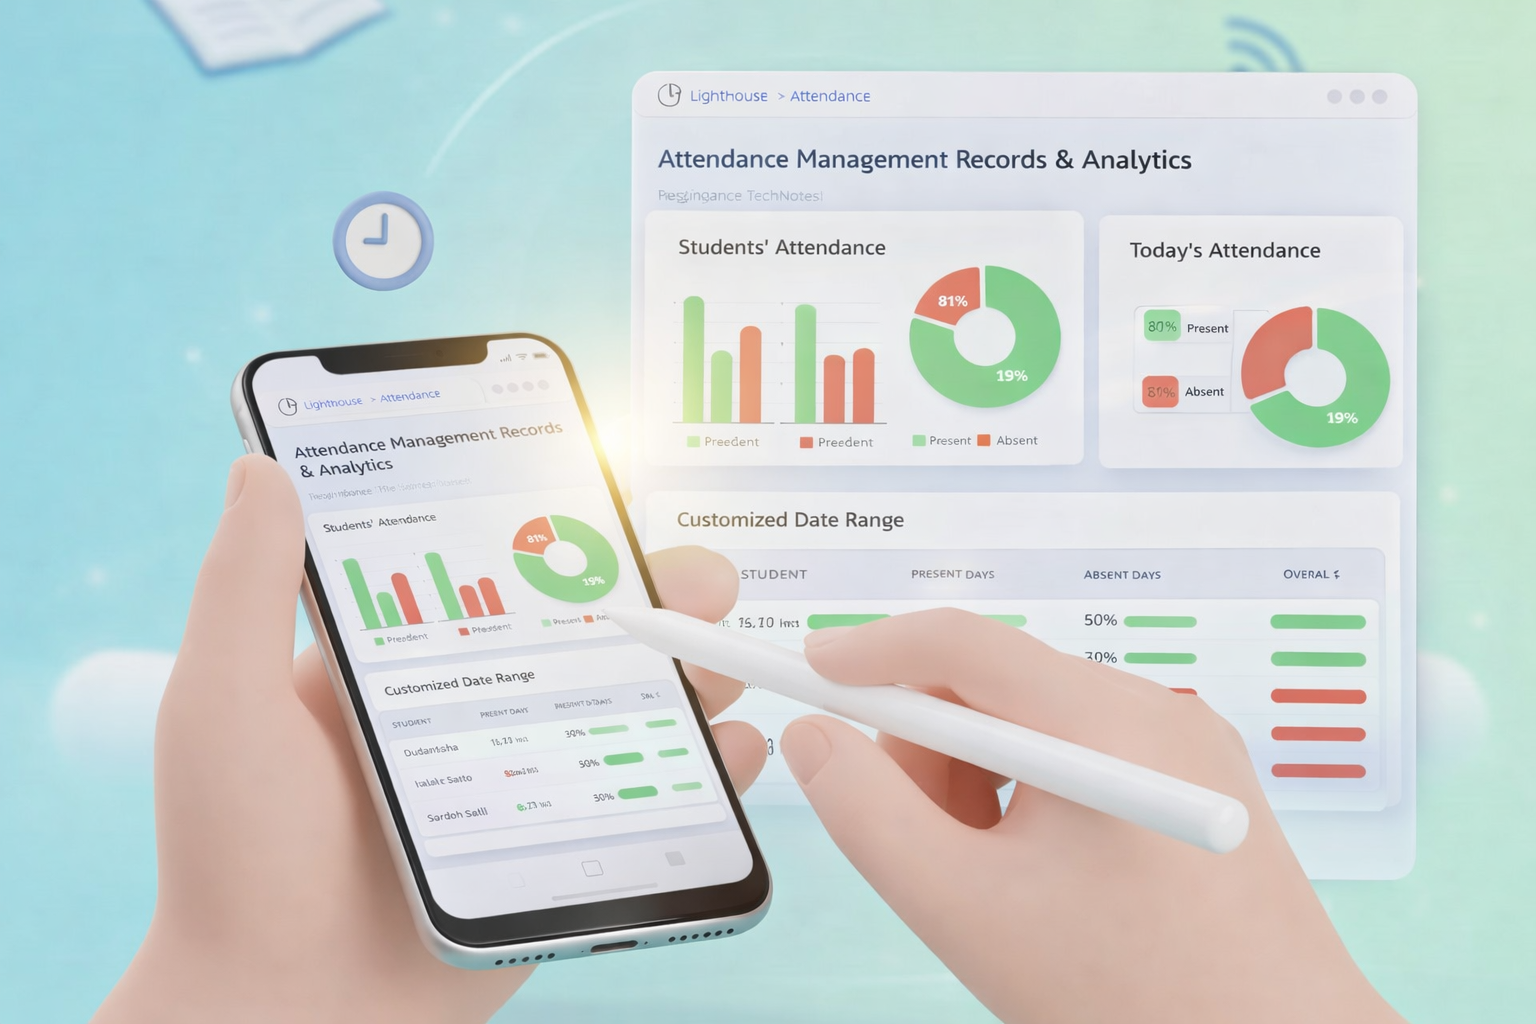
Marking Student Attendance
-
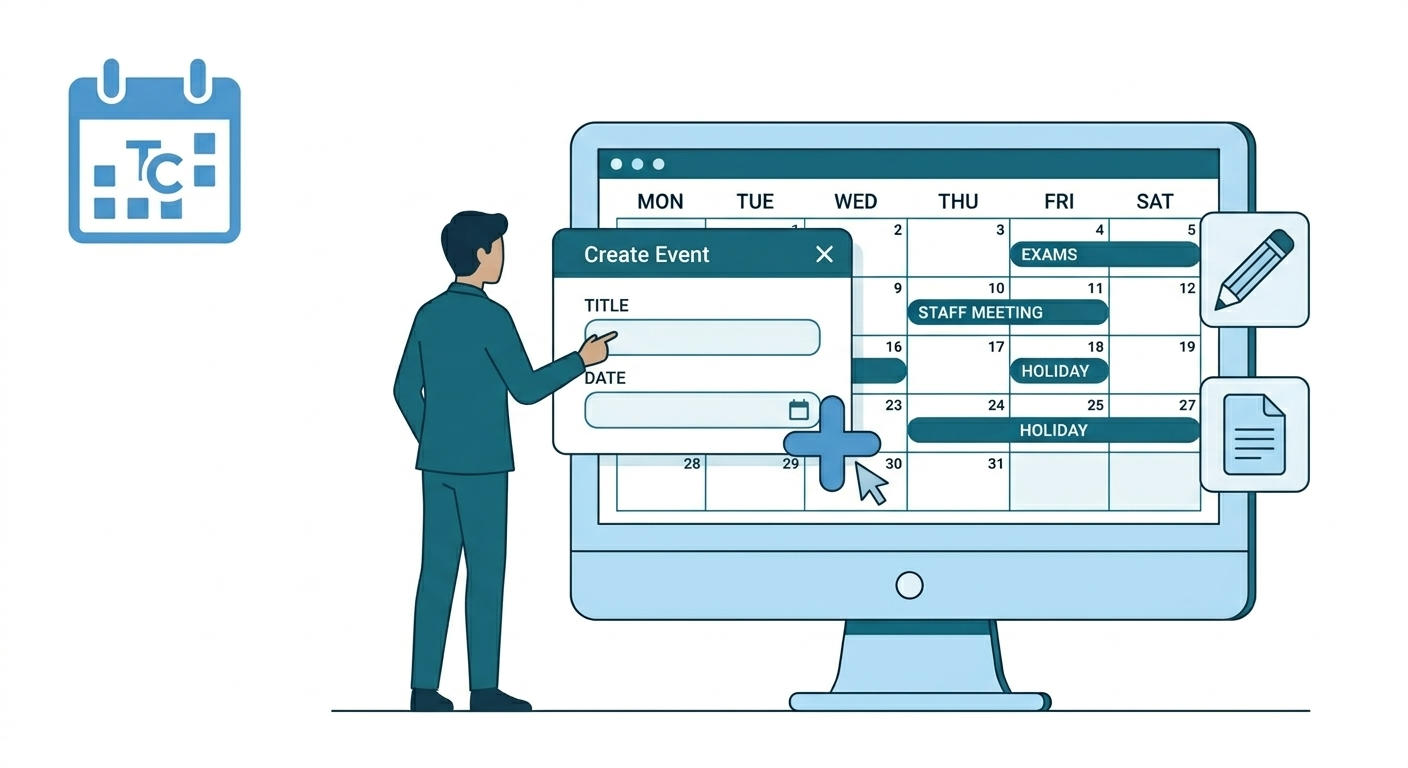
Creating a New Event in Almanac