Girish Patil
-
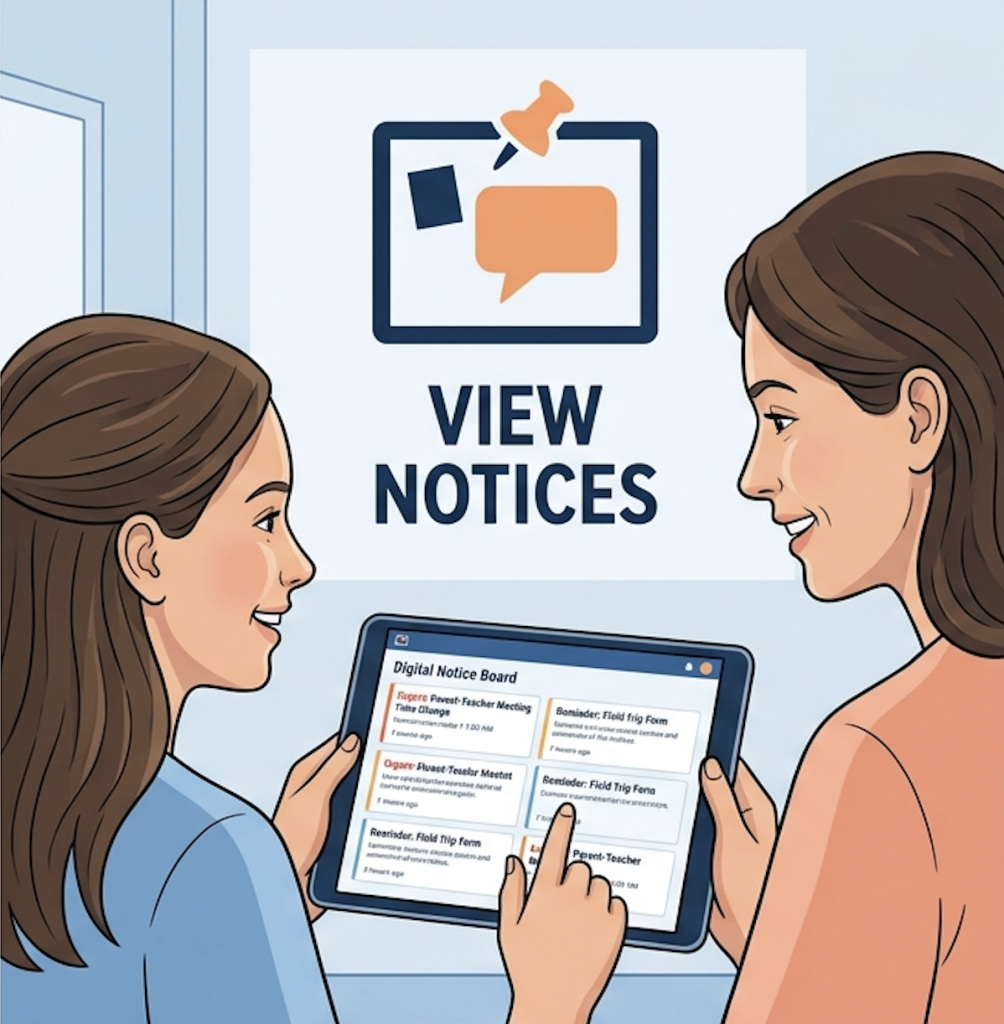
Viewing school announcements as a Student or Parent
-

Create & Manage Notice Board
-
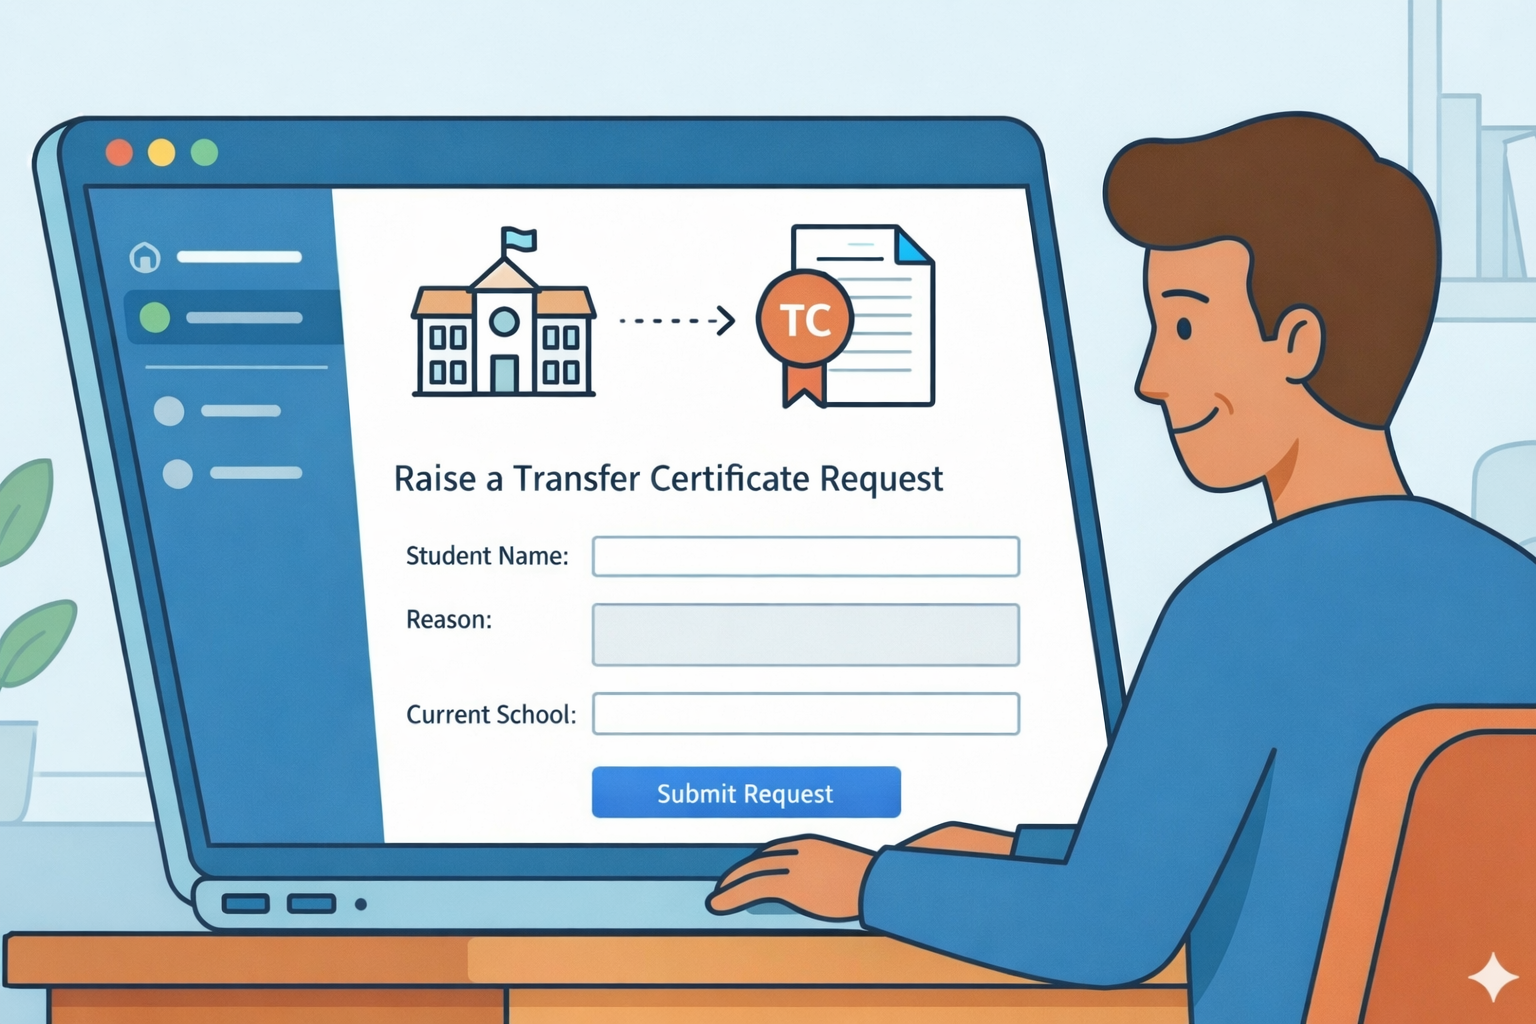
Requesting a Transfer Certificate (TC)
-
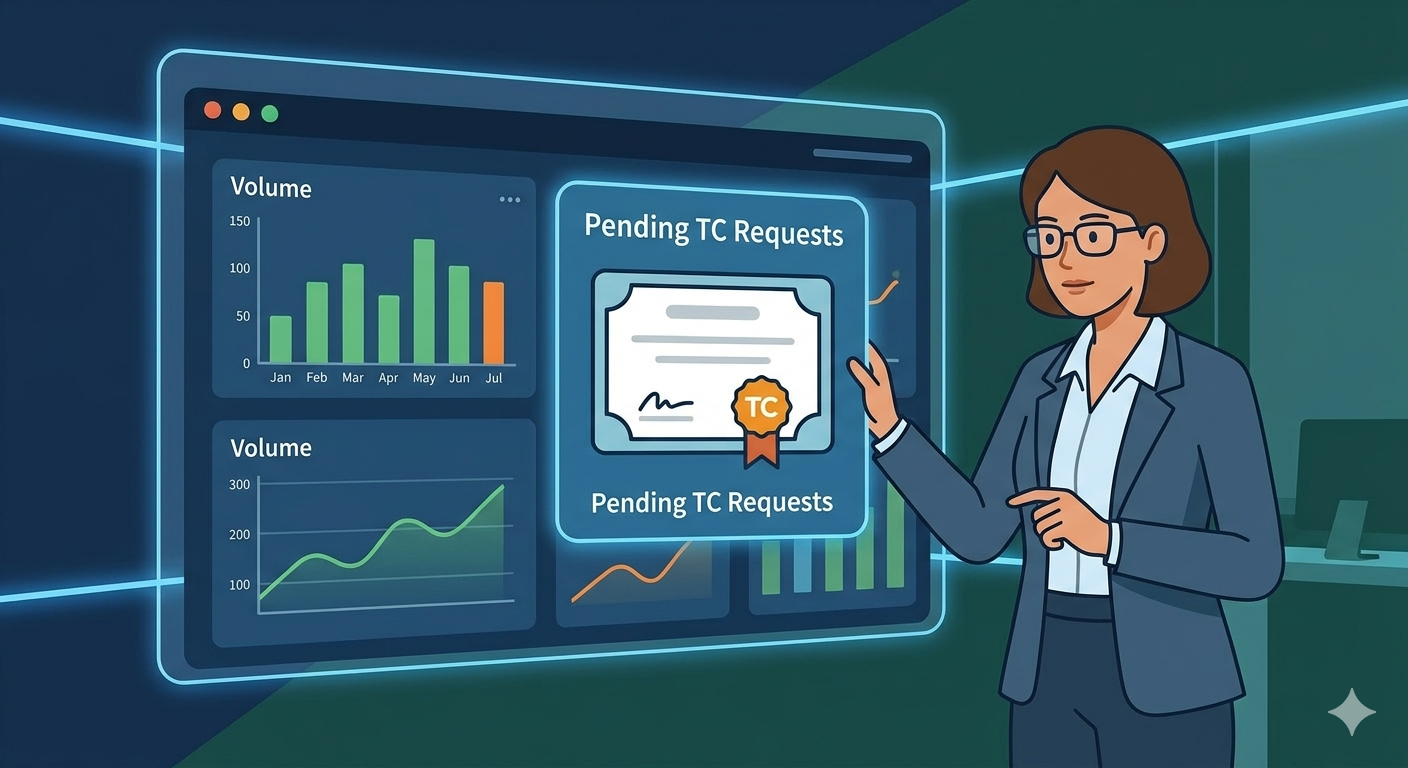
Viewing and Managing Transfer Certificate Requests in Dashboard
-

Tracking Your Transfer Certificate (TC) Request
-
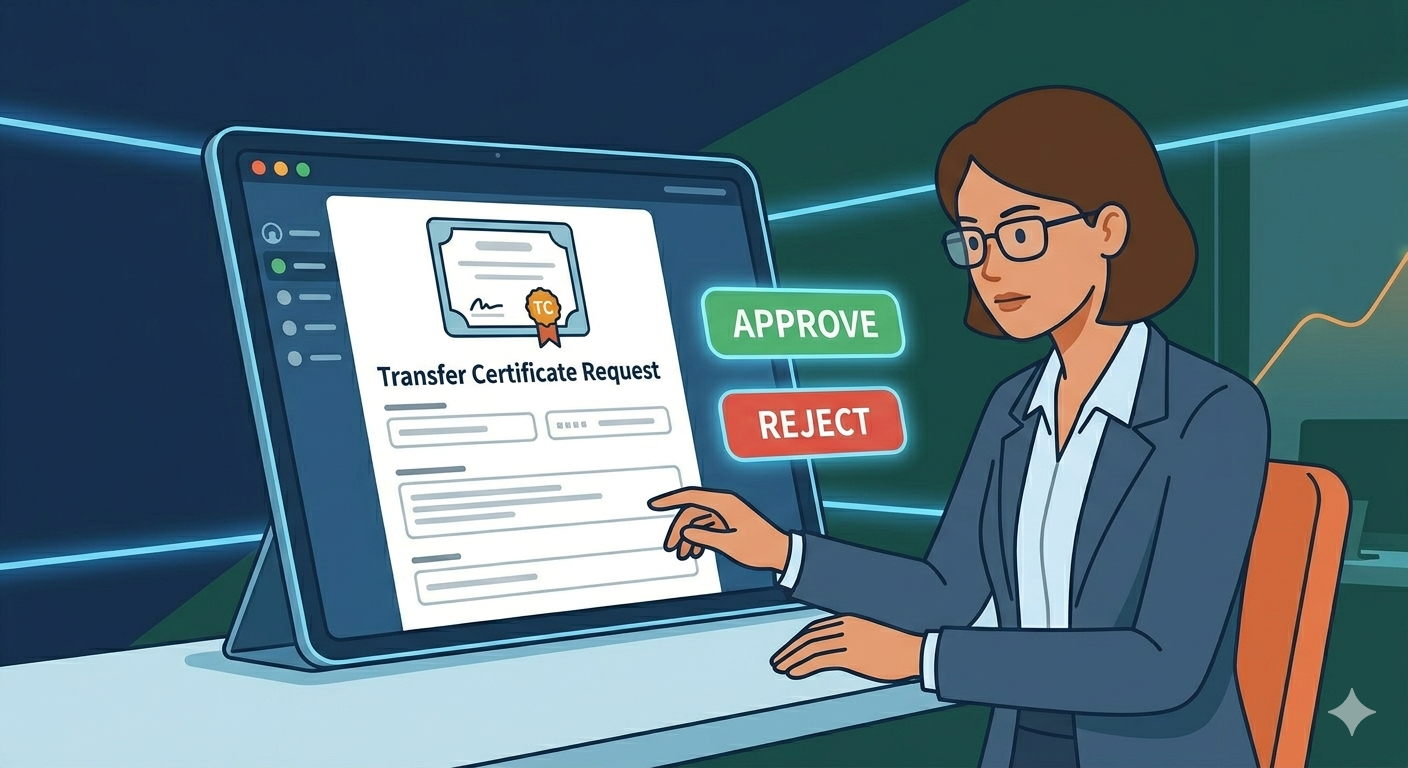
Reviewing and Acting on a Transfer Certificate (TC) Request
-

Marking Student Attendance
-
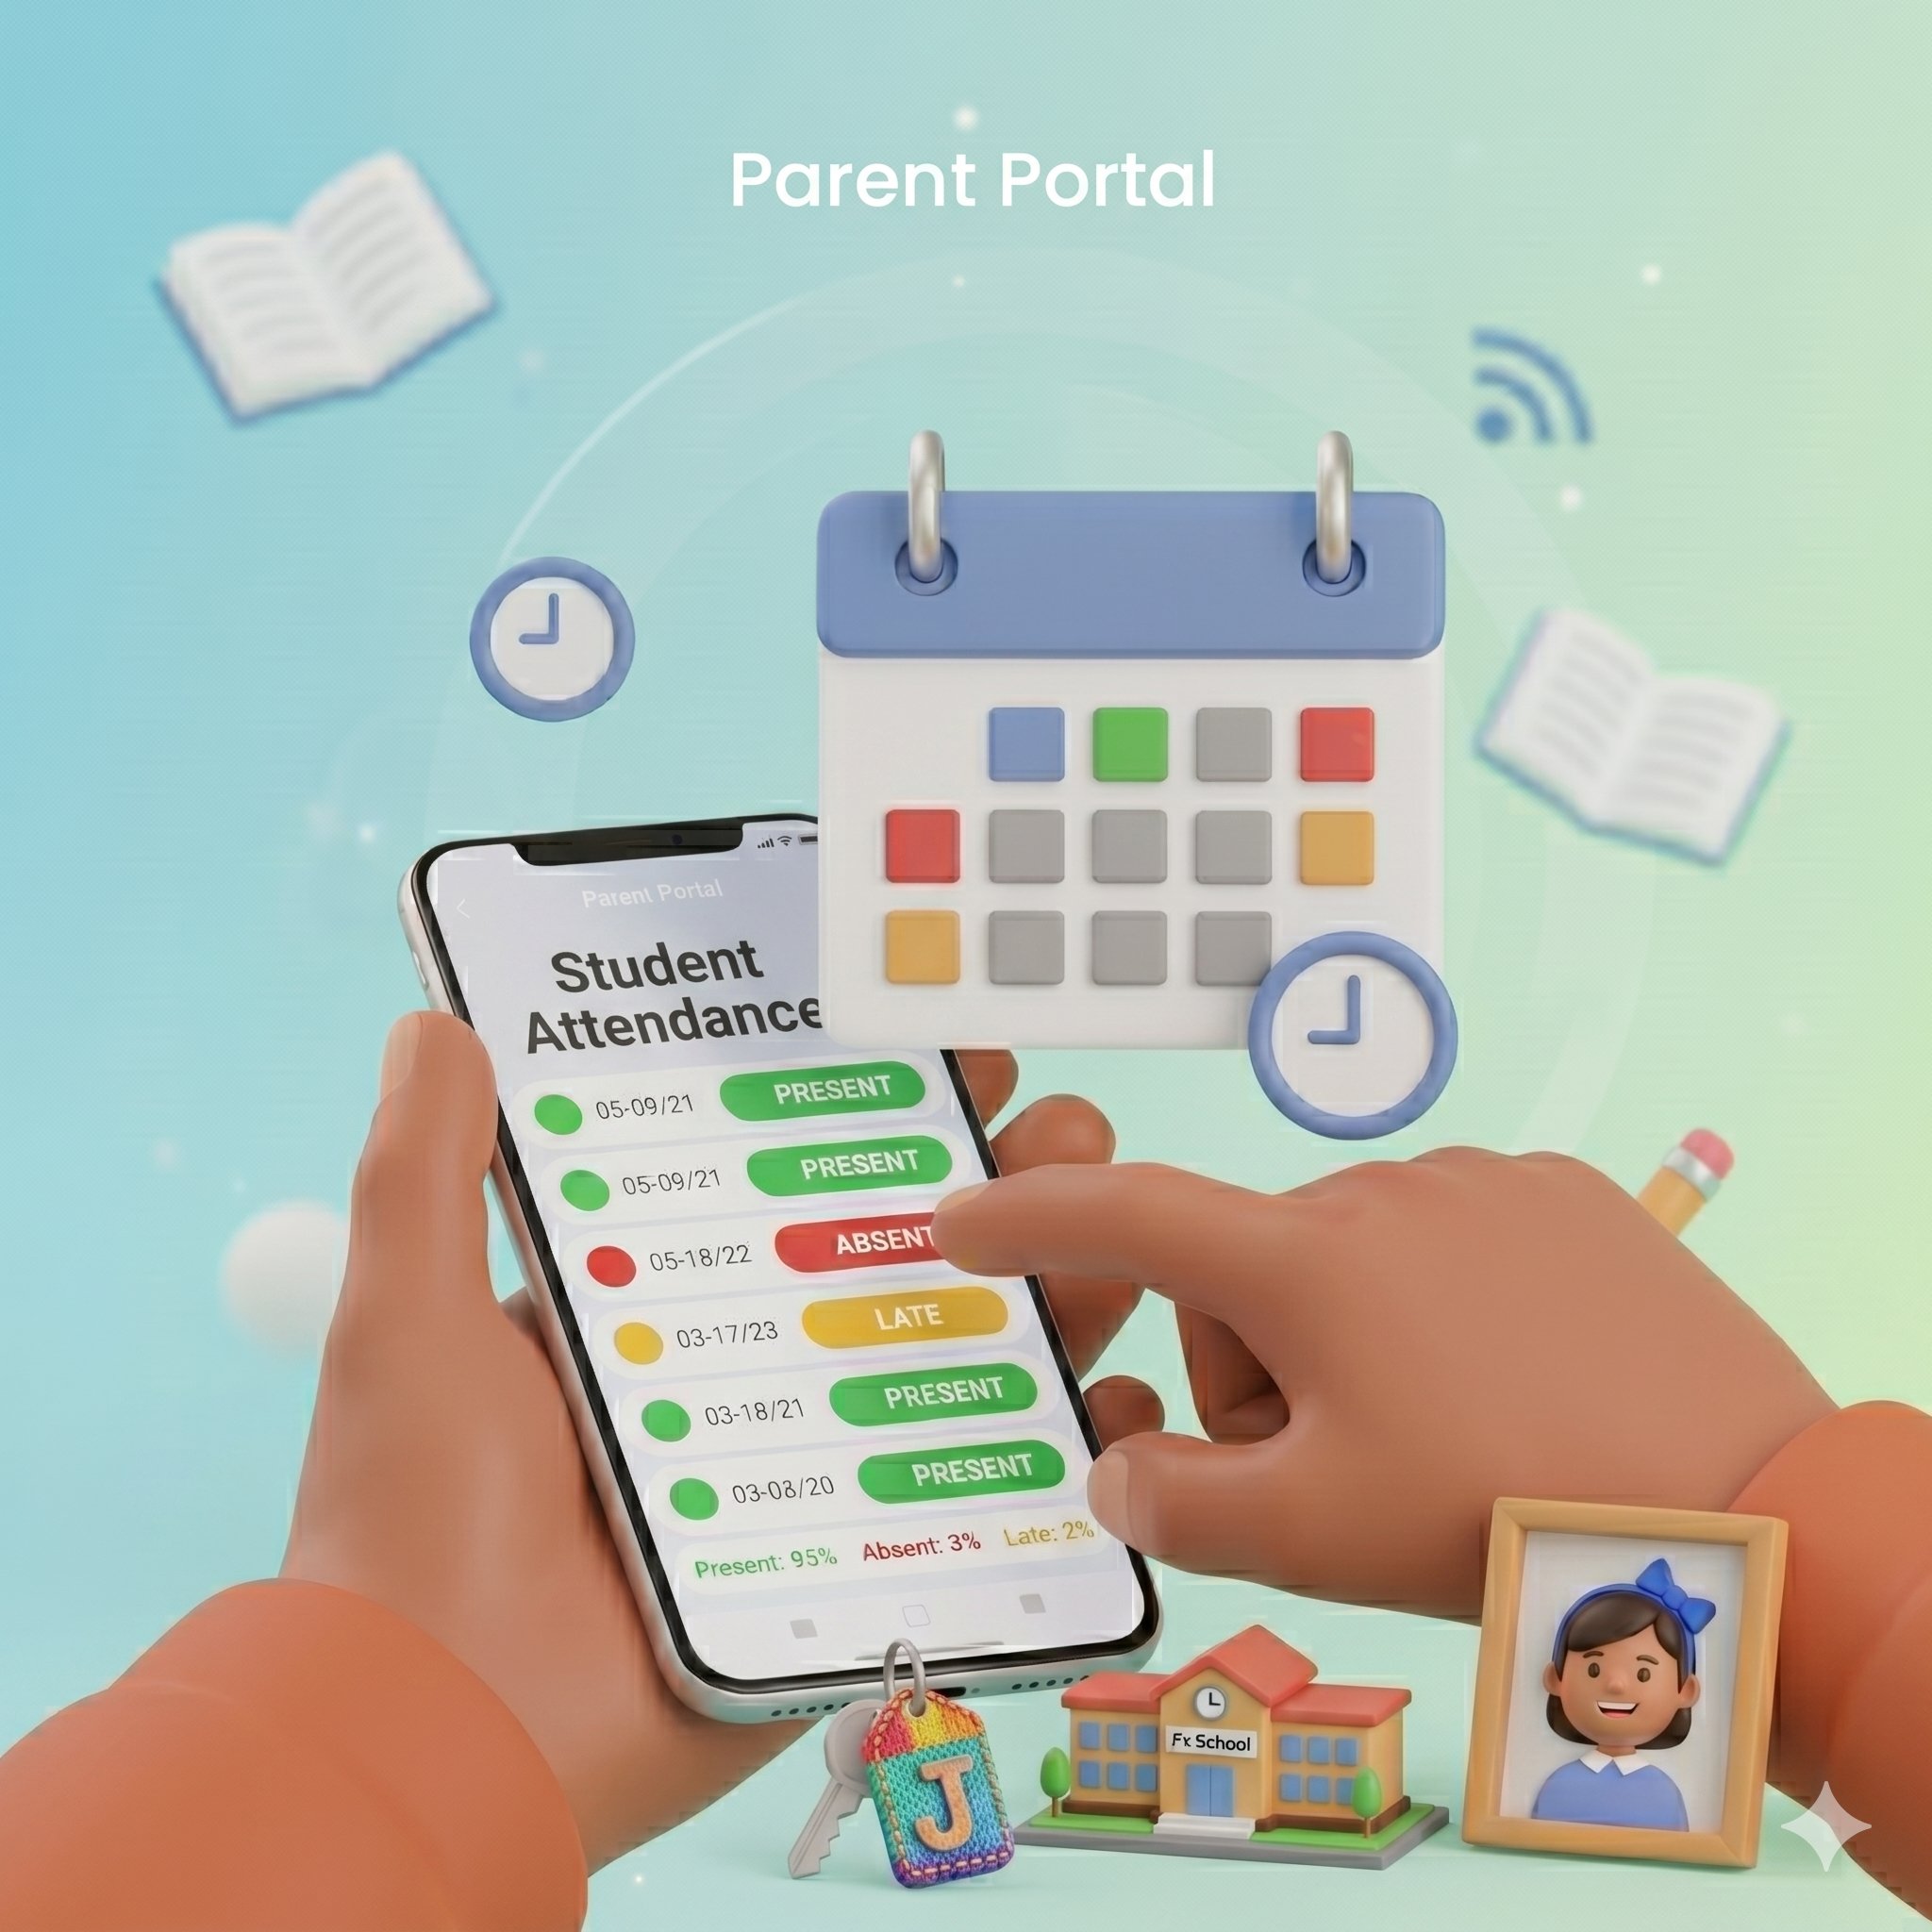
How Parents Can View Student Attendance
-
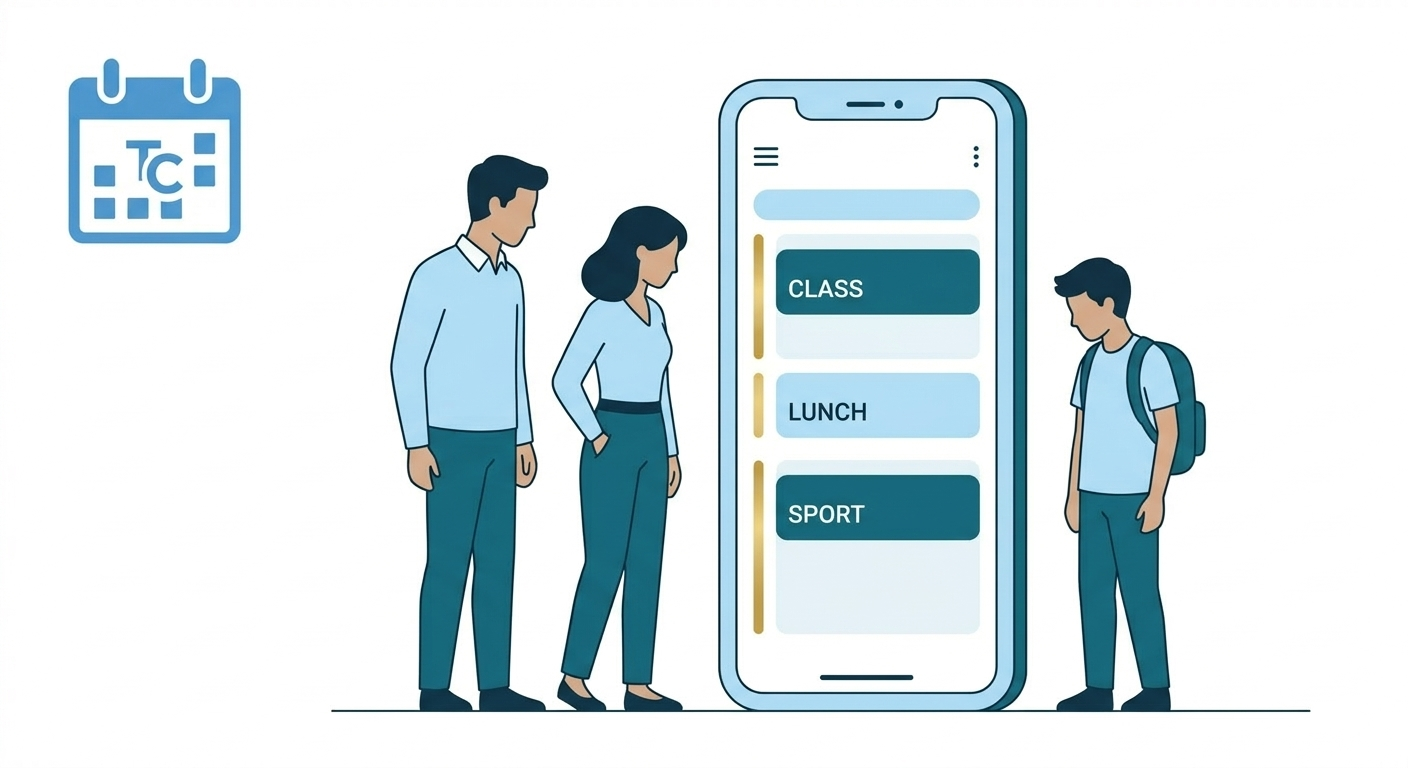
View Almanac (Students and Parents)
-
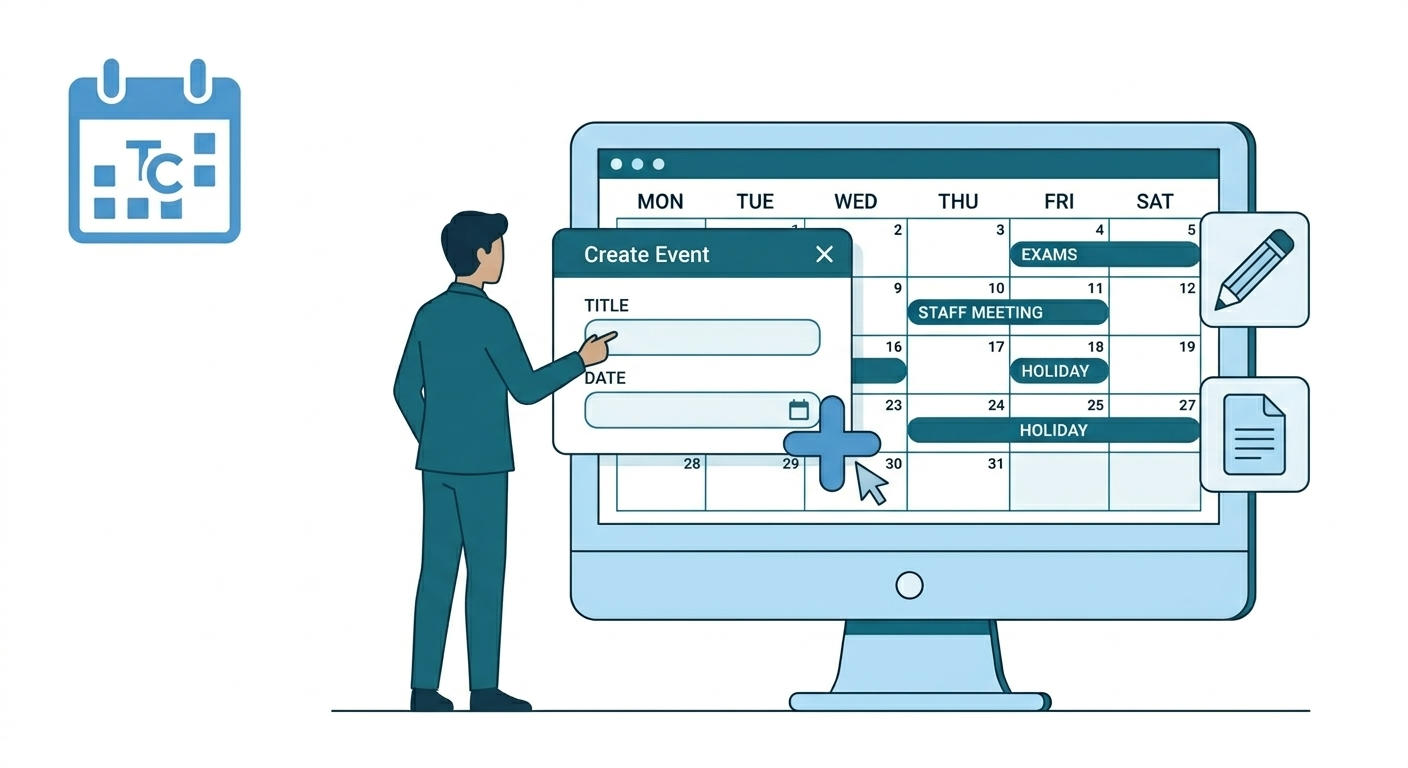
Creating a New Event in Almanac