parents
-

How to Place an Order in the Store Module
-
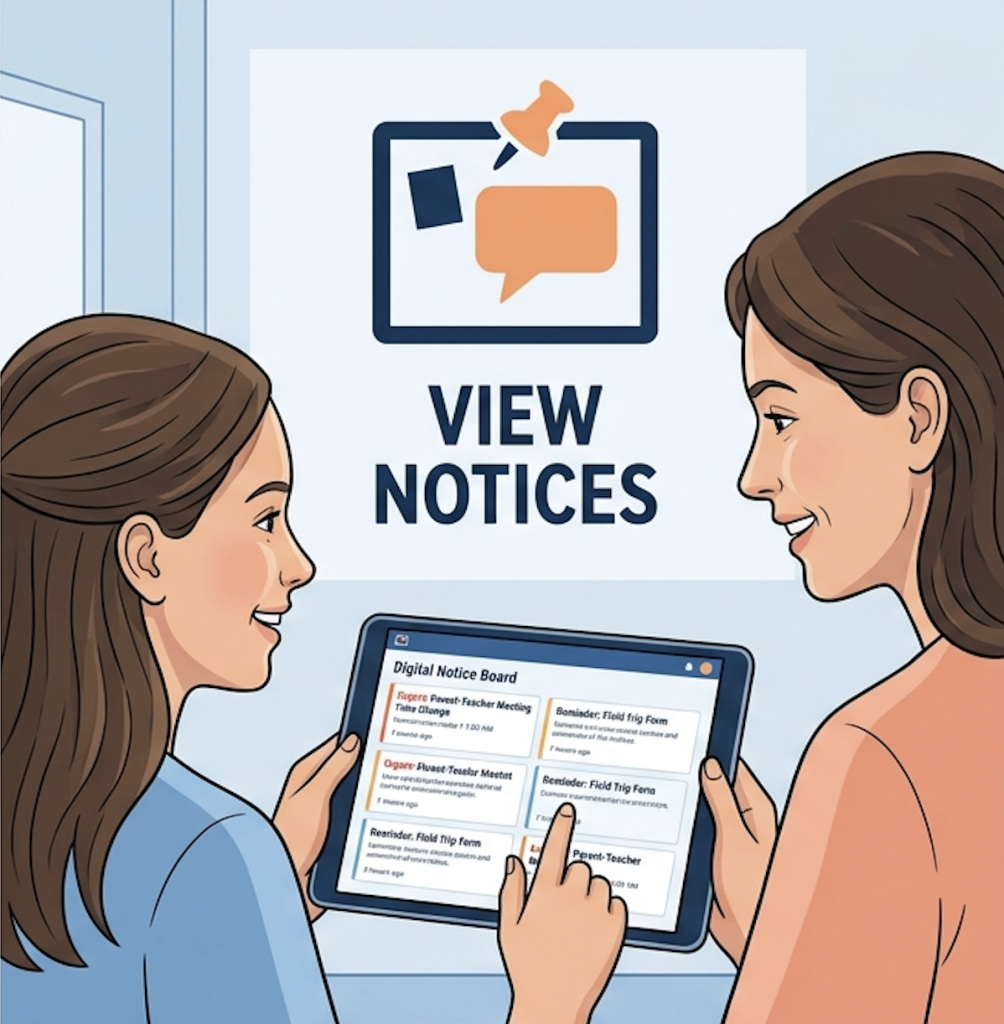
Viewing school announcements as a Student or Parent
-
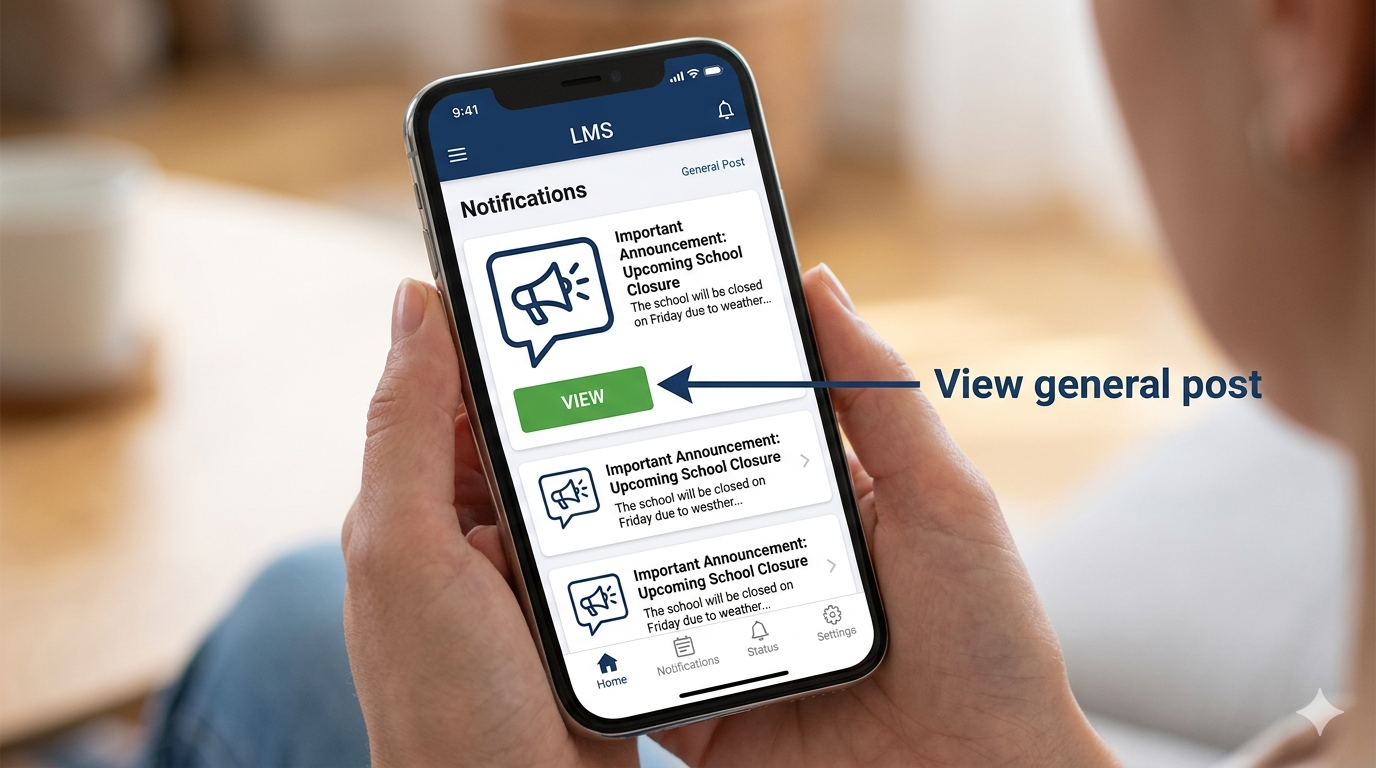
View General Post
-
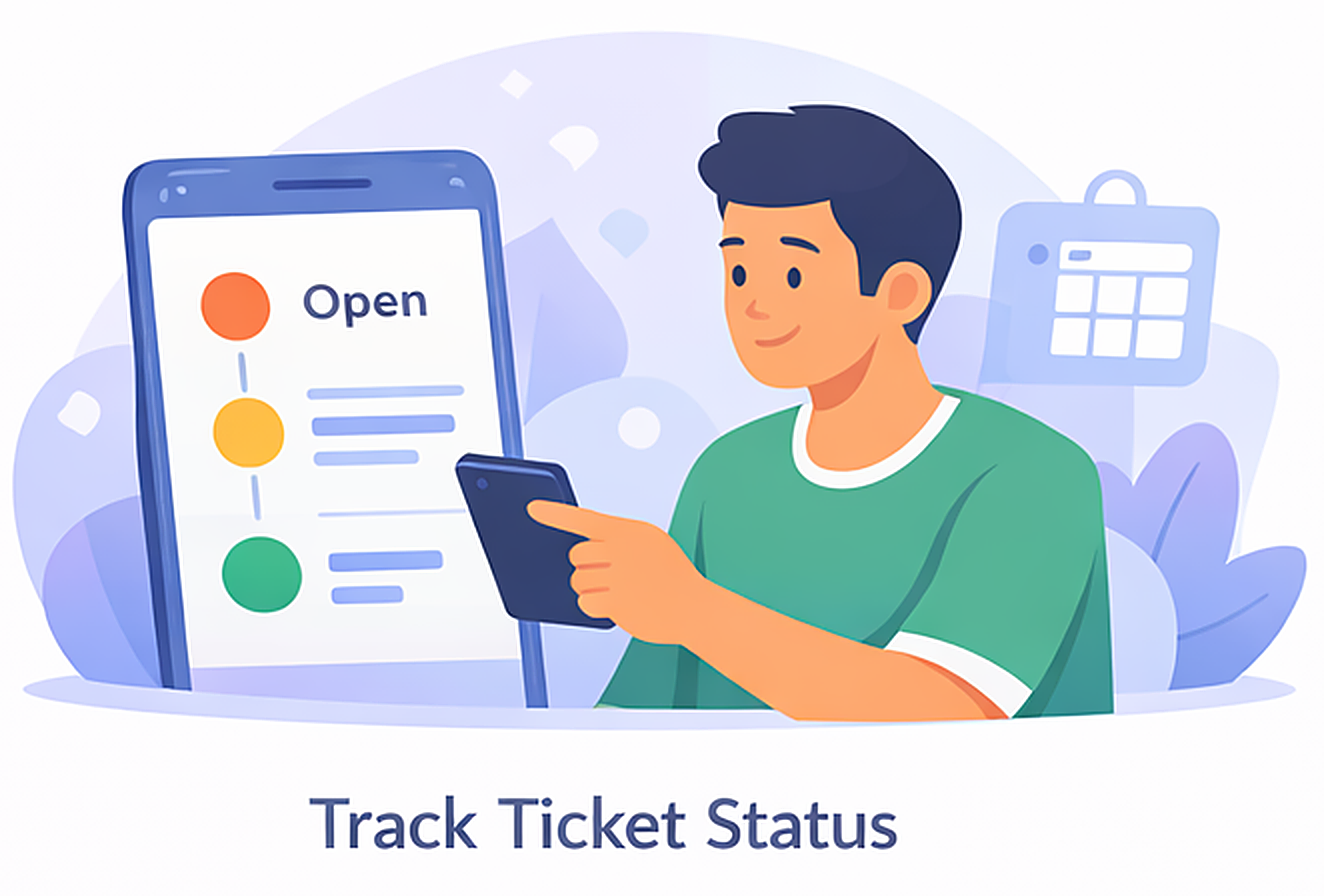
Track the status of your raised tickets in Parent Connect
-
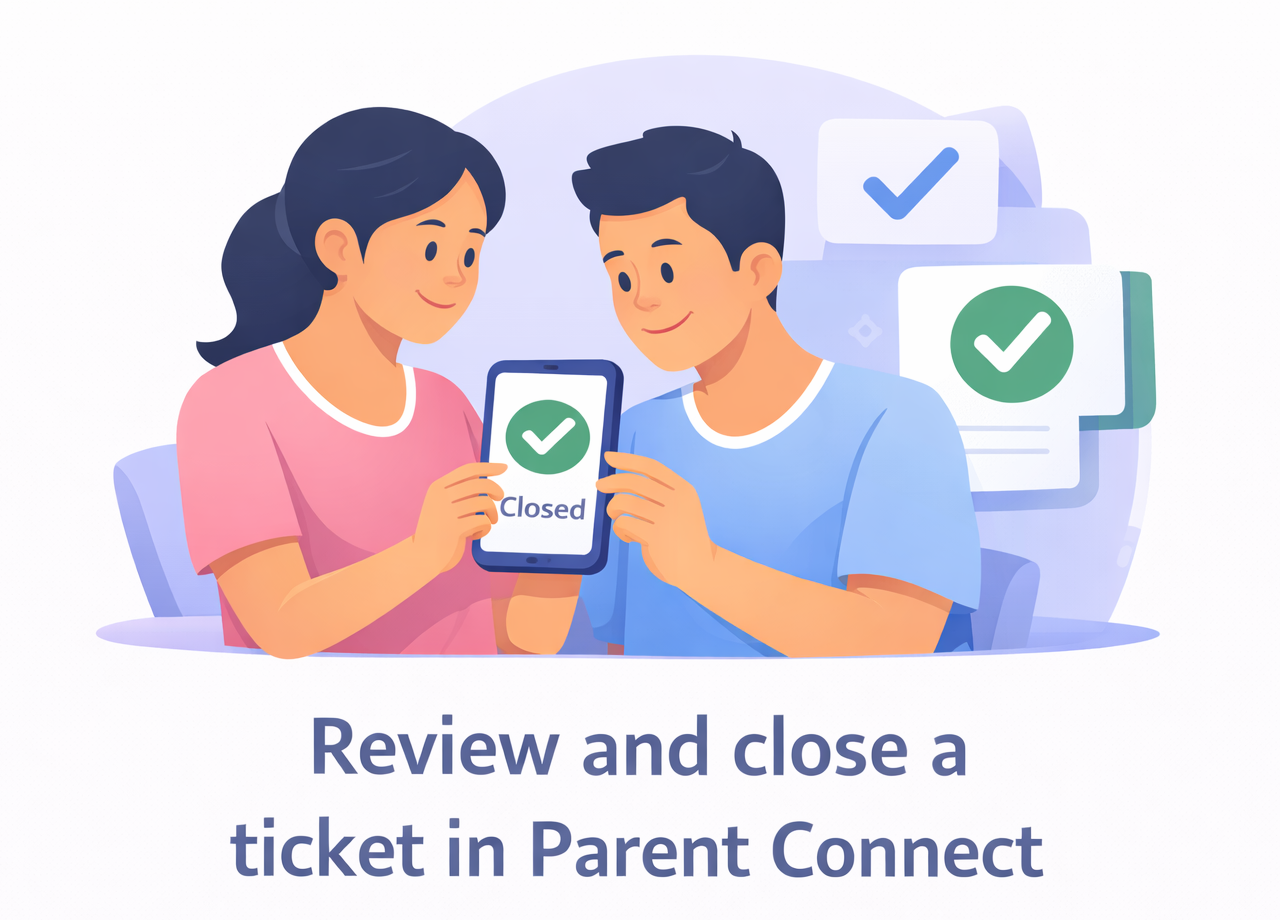
Review and close a ticket in Parent Connect
-

View and reply to tickets in Parent Connect
-

Create a new query or ticket in Parent Connect
-
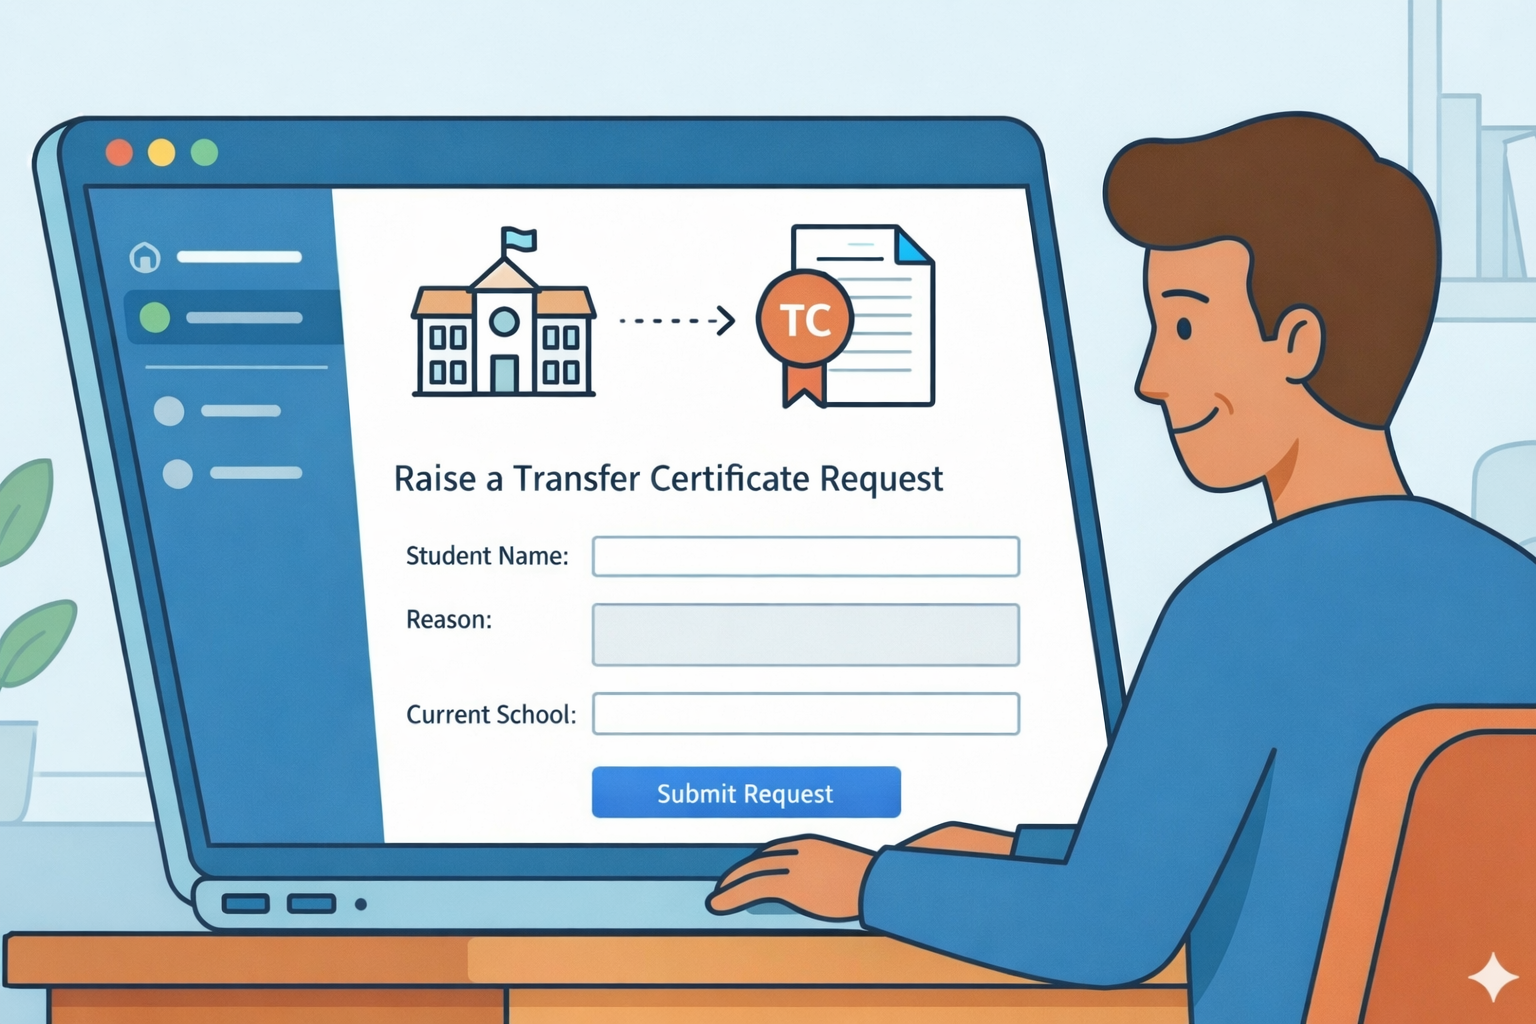
Requesting a Transfer Certificate (TC)
-

Tracking Your Transfer Certificate (TC) Request
-
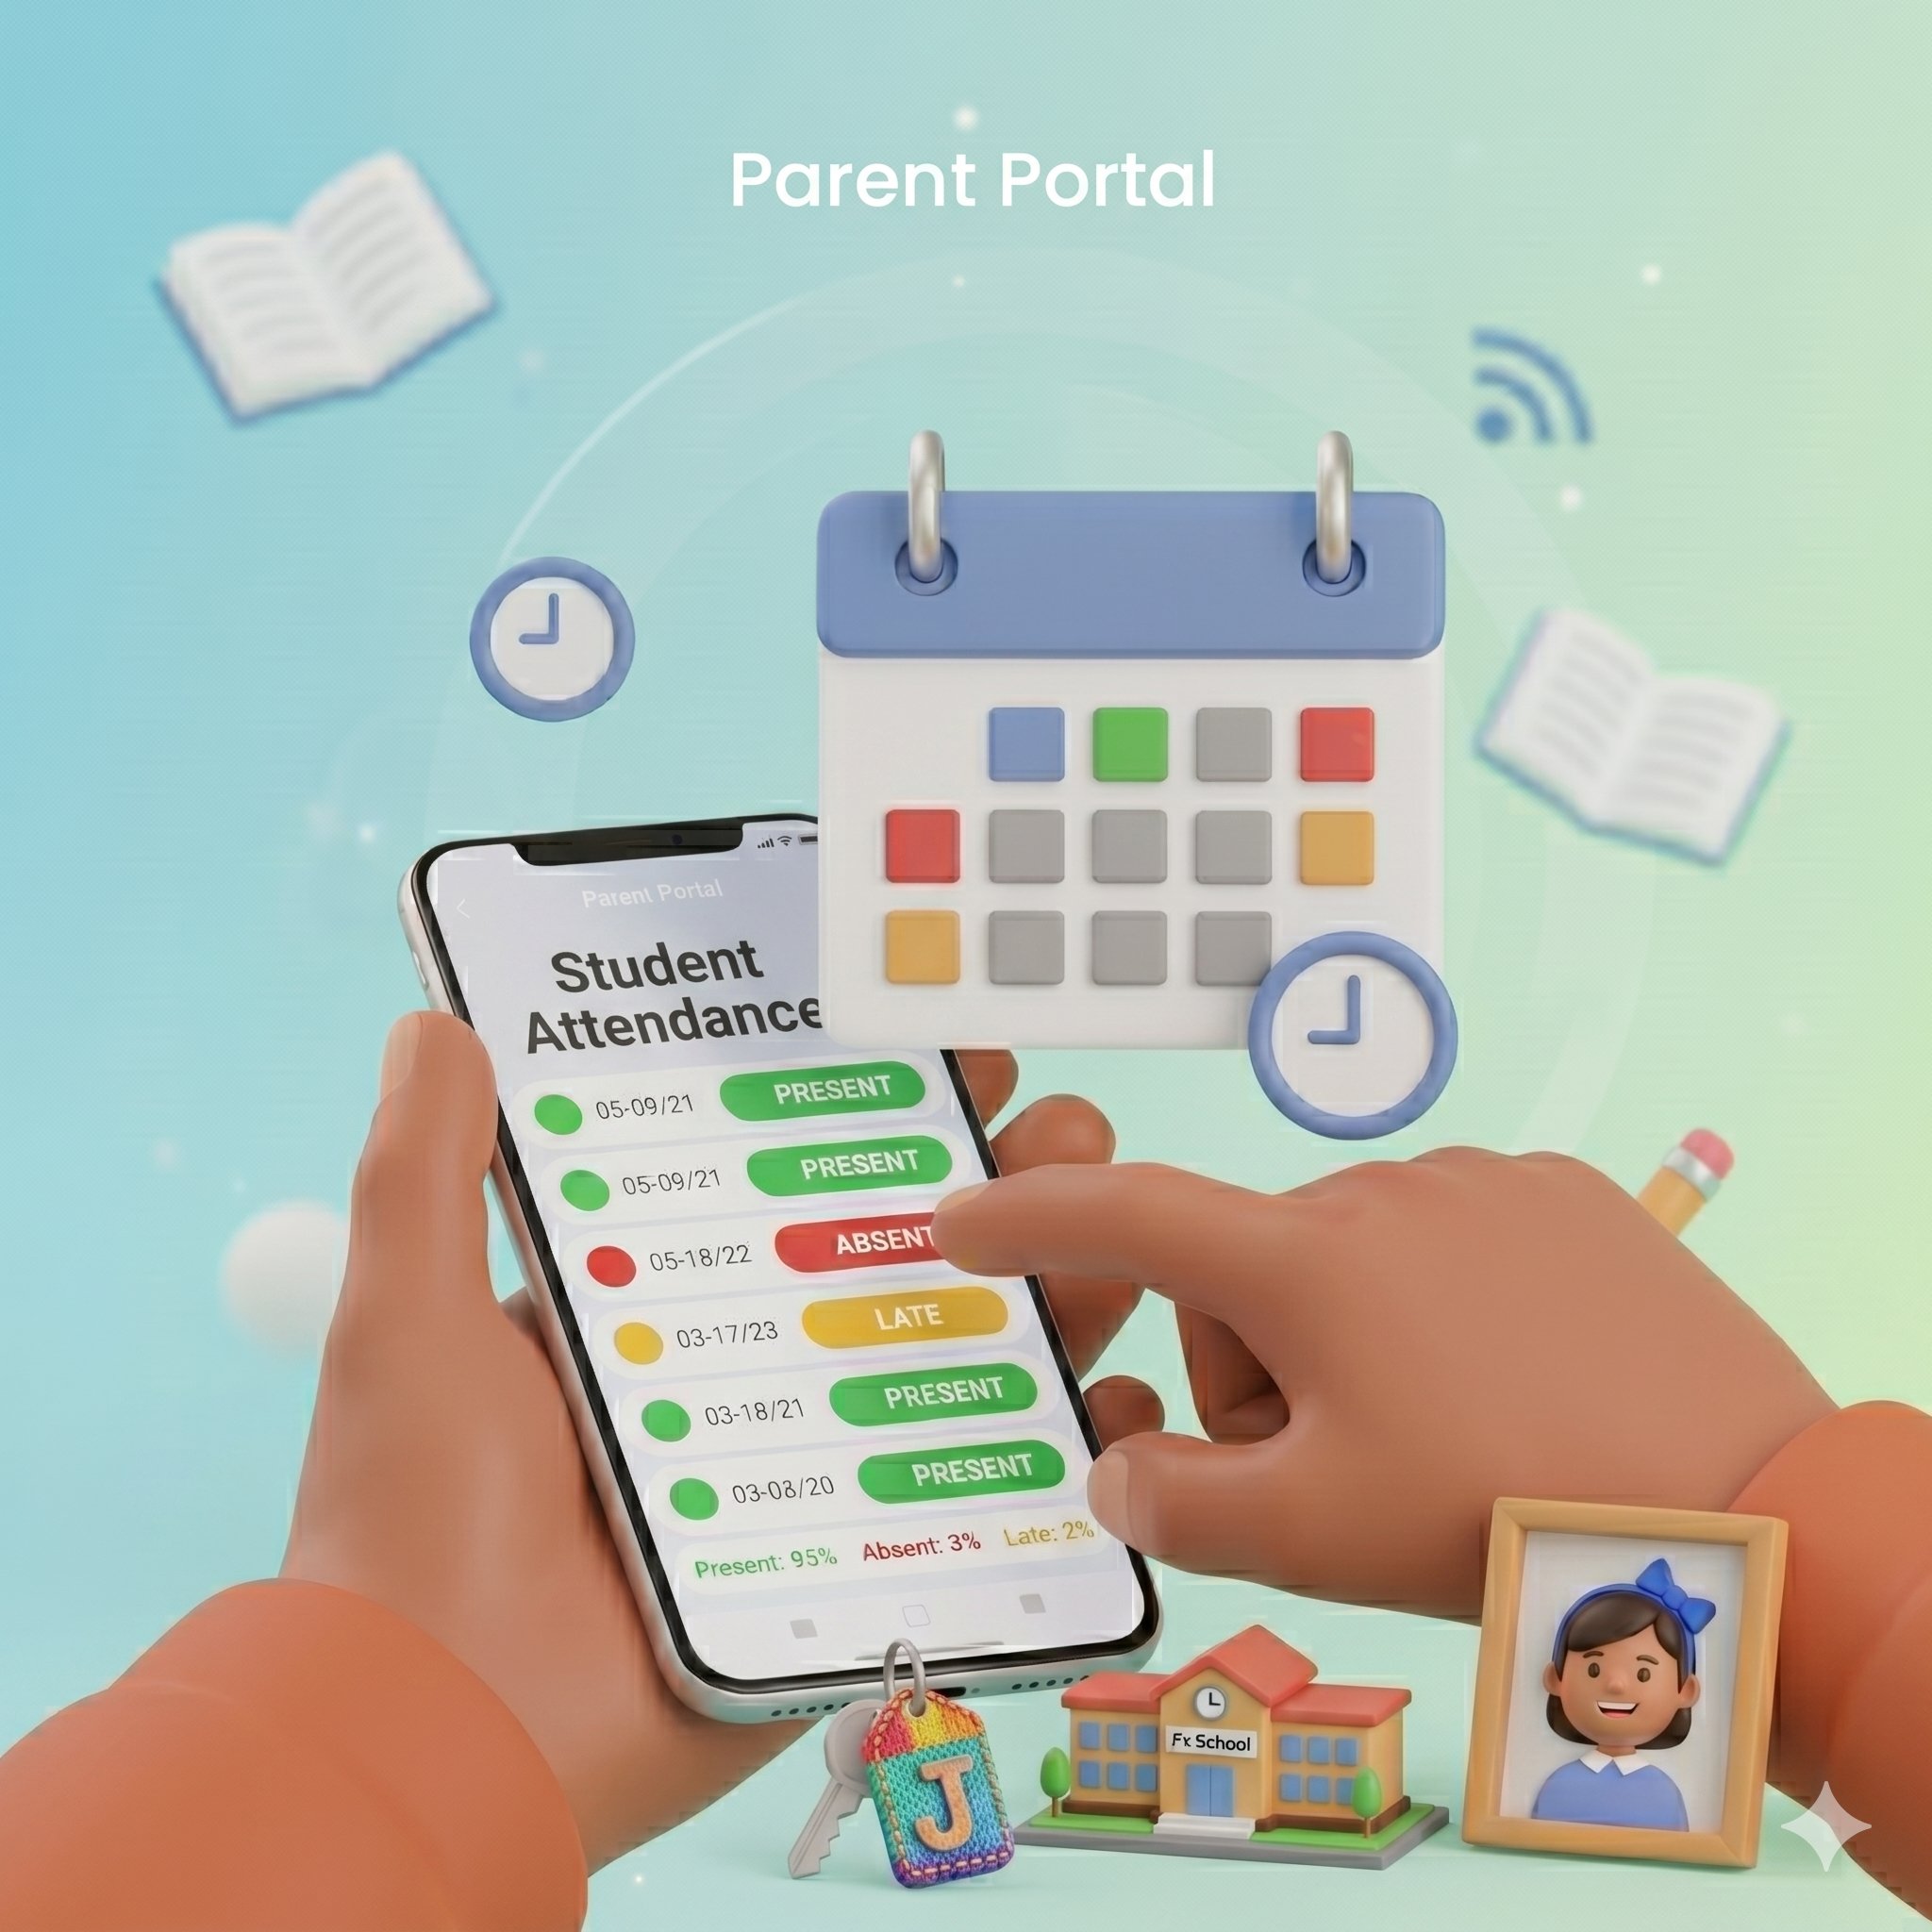
How Parents Can View Student Attendance